Install the Extension and Create Your First Internal Docs
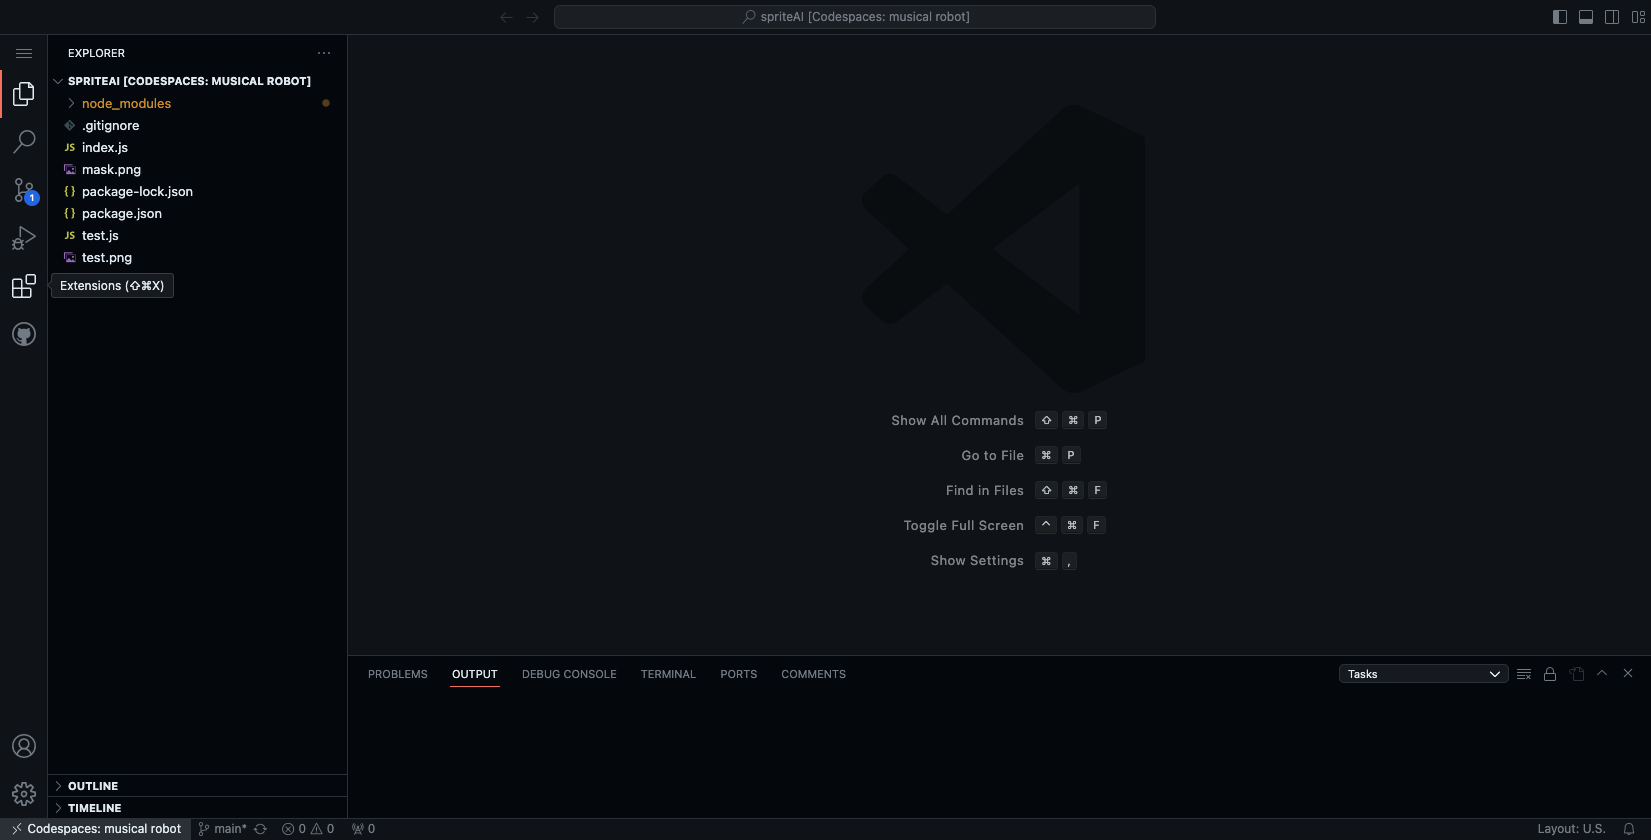
Step 1: Go to VS Code Extensions
In Your VS Code Editor find the Extensions icon in the left side of the page.
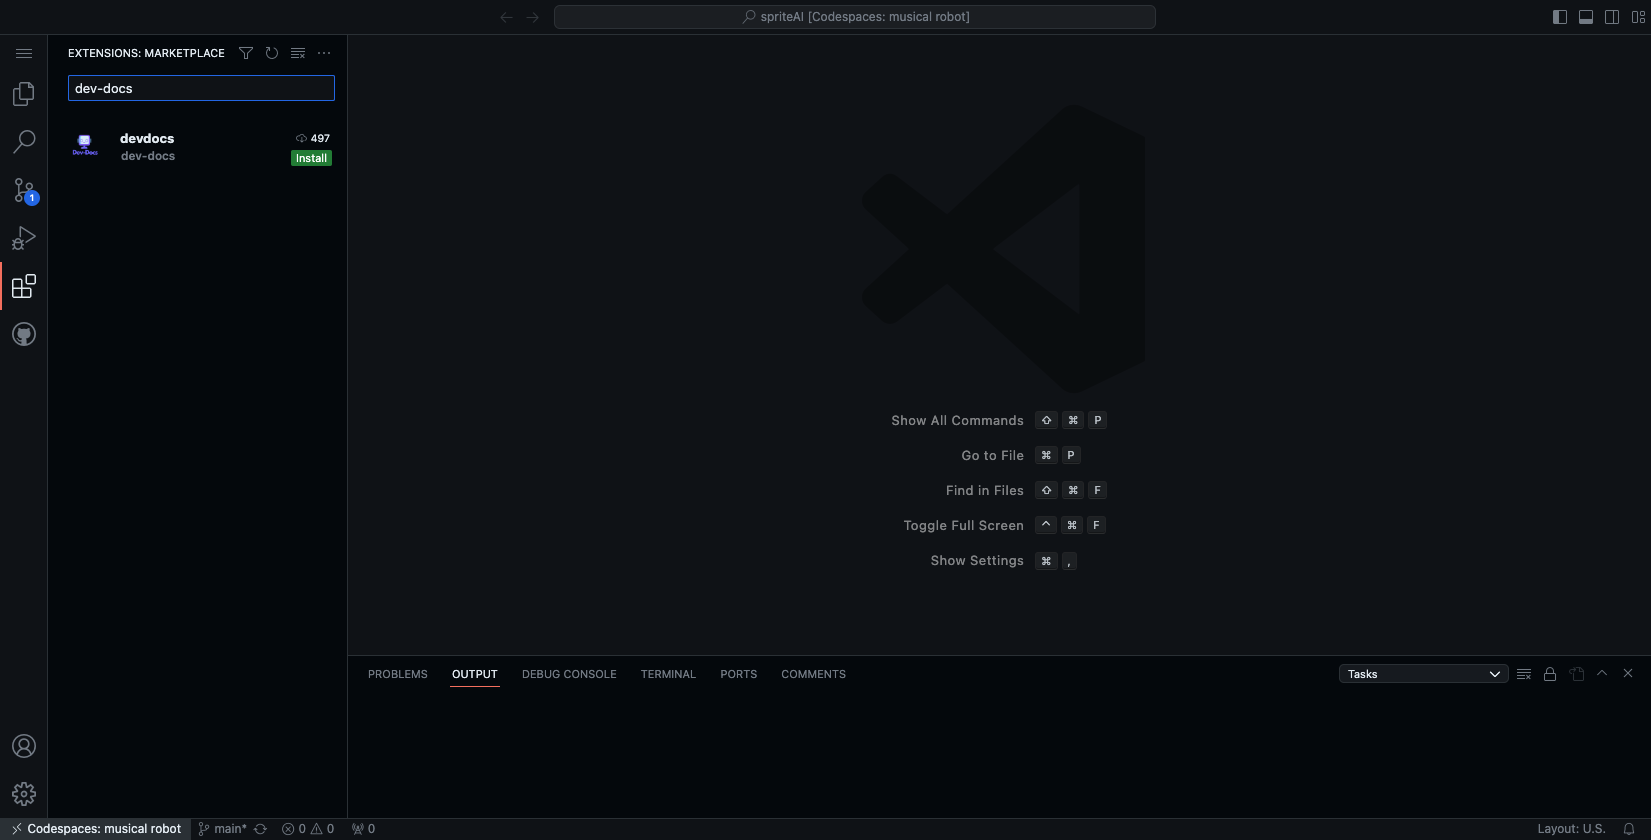
Step 2: Install the Extension
Search Dev-Docs and then click install.
Step 3: Initialize your Codebase
Open the command palette with shift command p and click/select: dev-docs: Initialize Dev-Docs. This creates a dev-docs.json file that you can use to configure Dev-Docs.

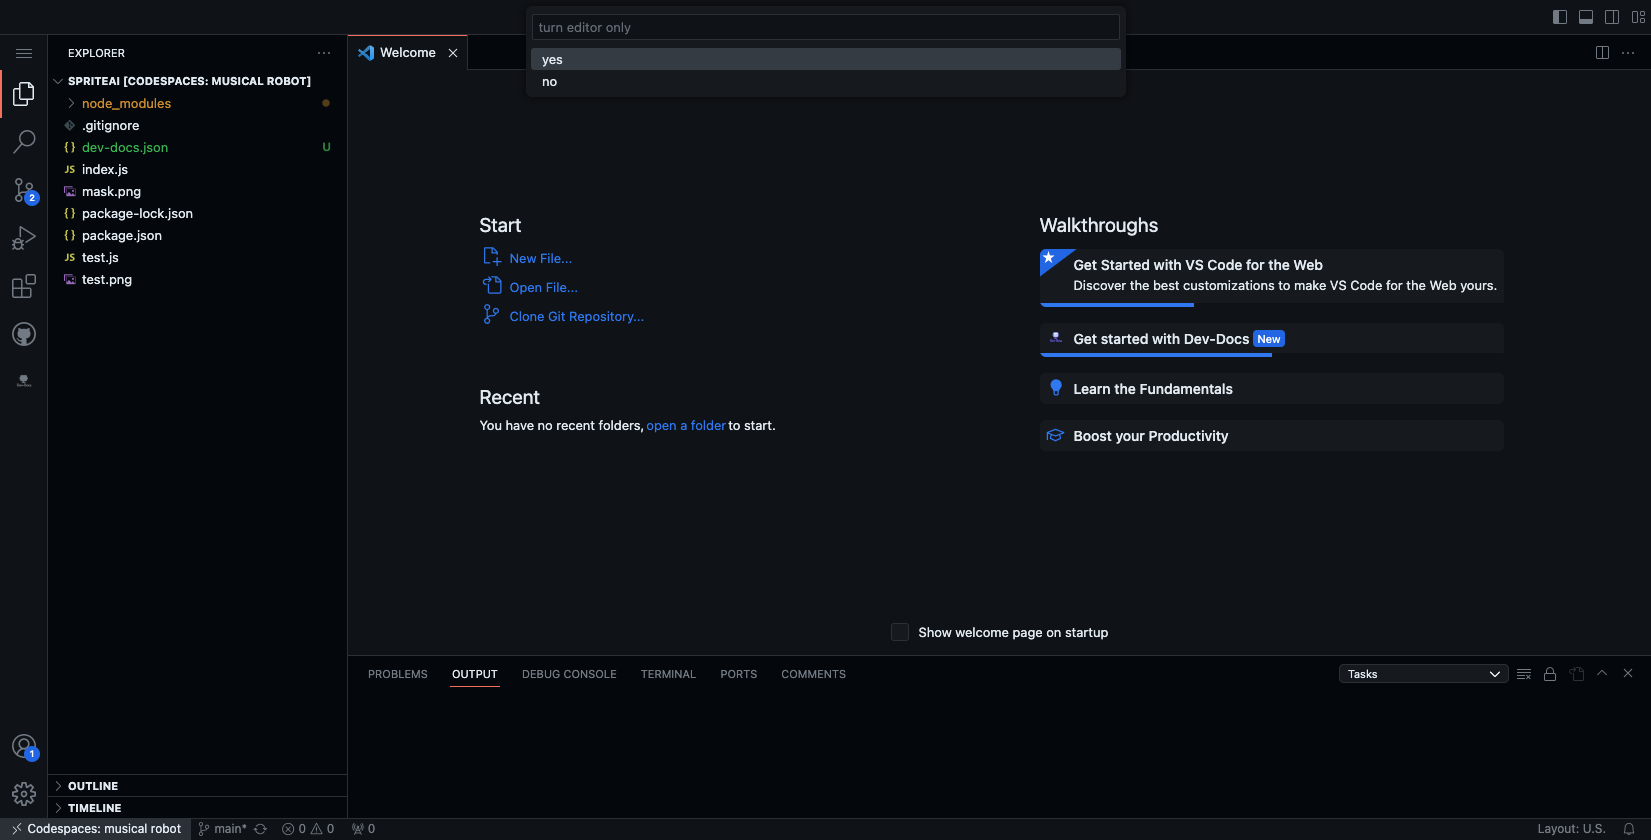
Now we are going to create our first dev-docs documents but since we aren't use dev-docs cloud yet, we are going to turn on markdown mode. Open the command palette with shift command p and search for the the text that says "dev-docs: turn on markdown mode."

click on the text yes.
Step 4: Open the Dev-Docs Editor
Now lets hit shift command p and find/click the command Open Dev-docs.
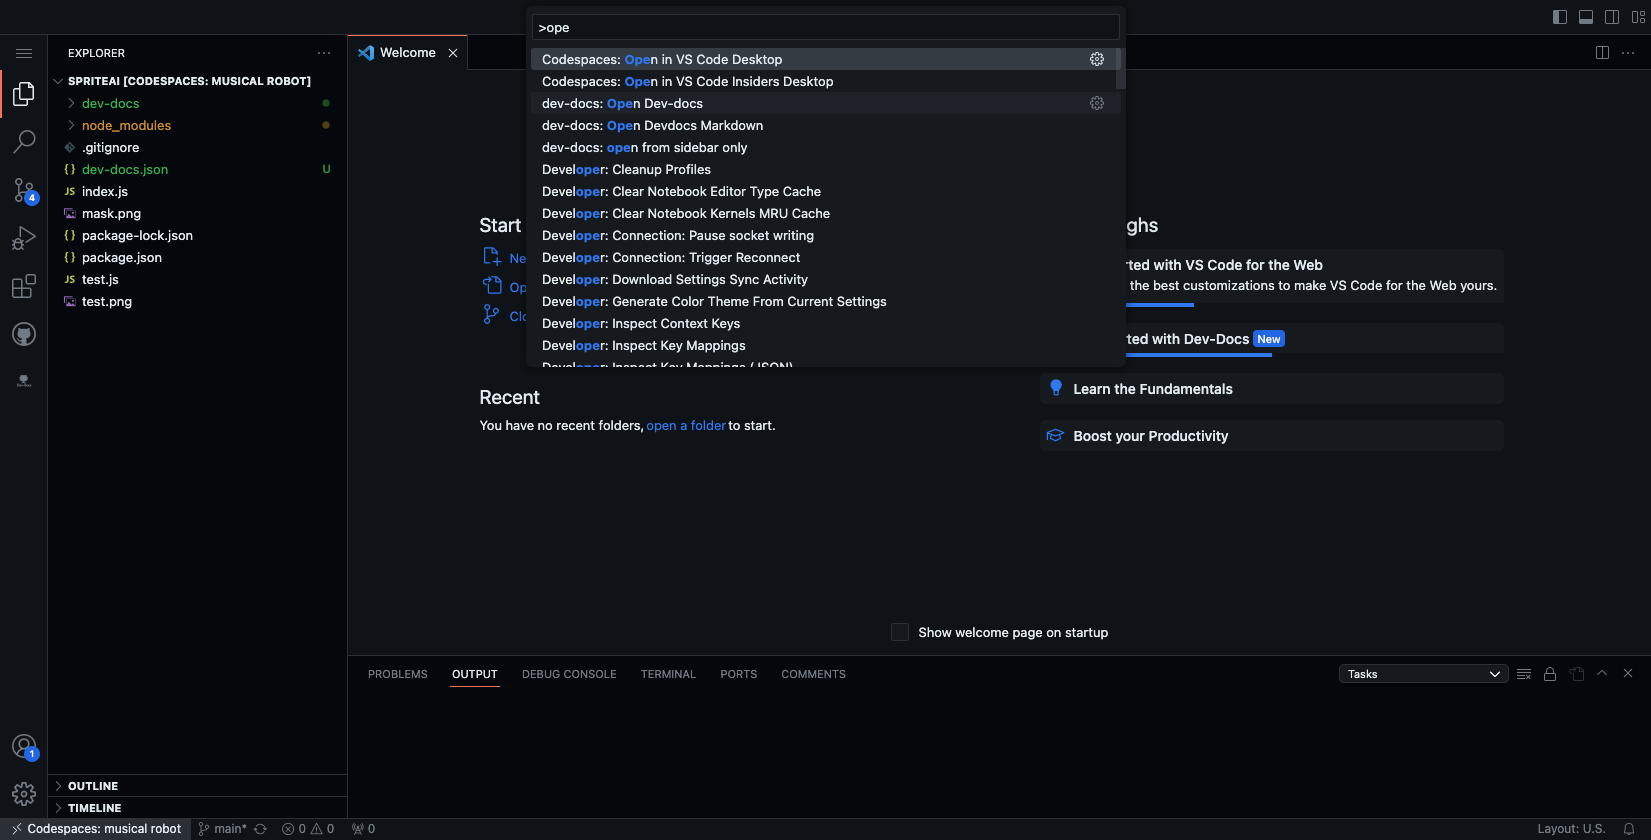
Step 5: Edit Your First General Document
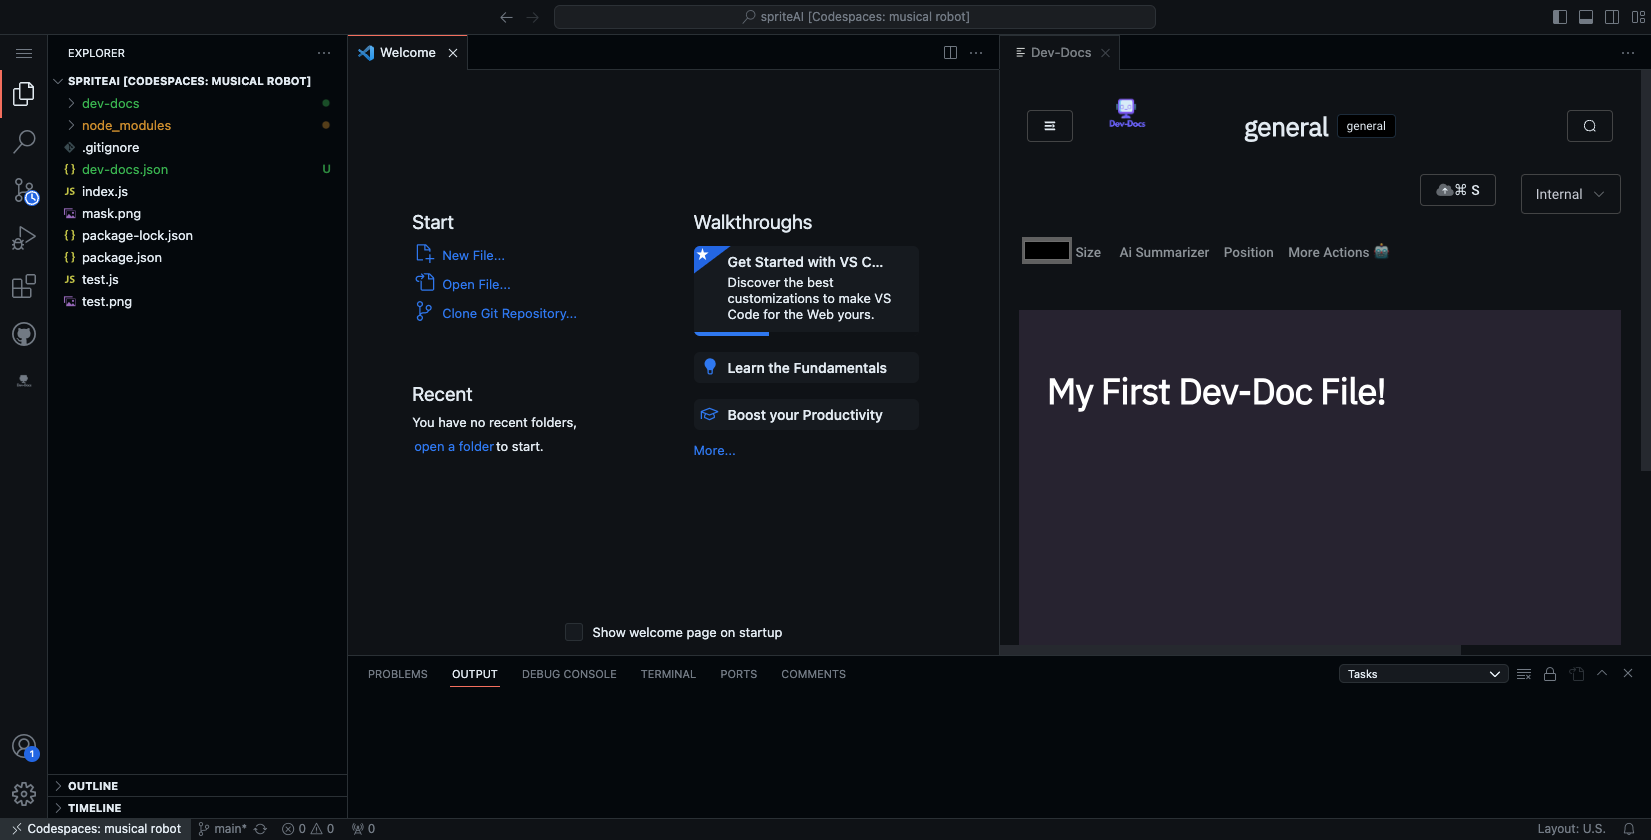
The Dev-Docs text editor should open to the general document for your codebase that covers a general overview of the codebase.

Feel Free to start typing and it will autosave to Dev-Docs.
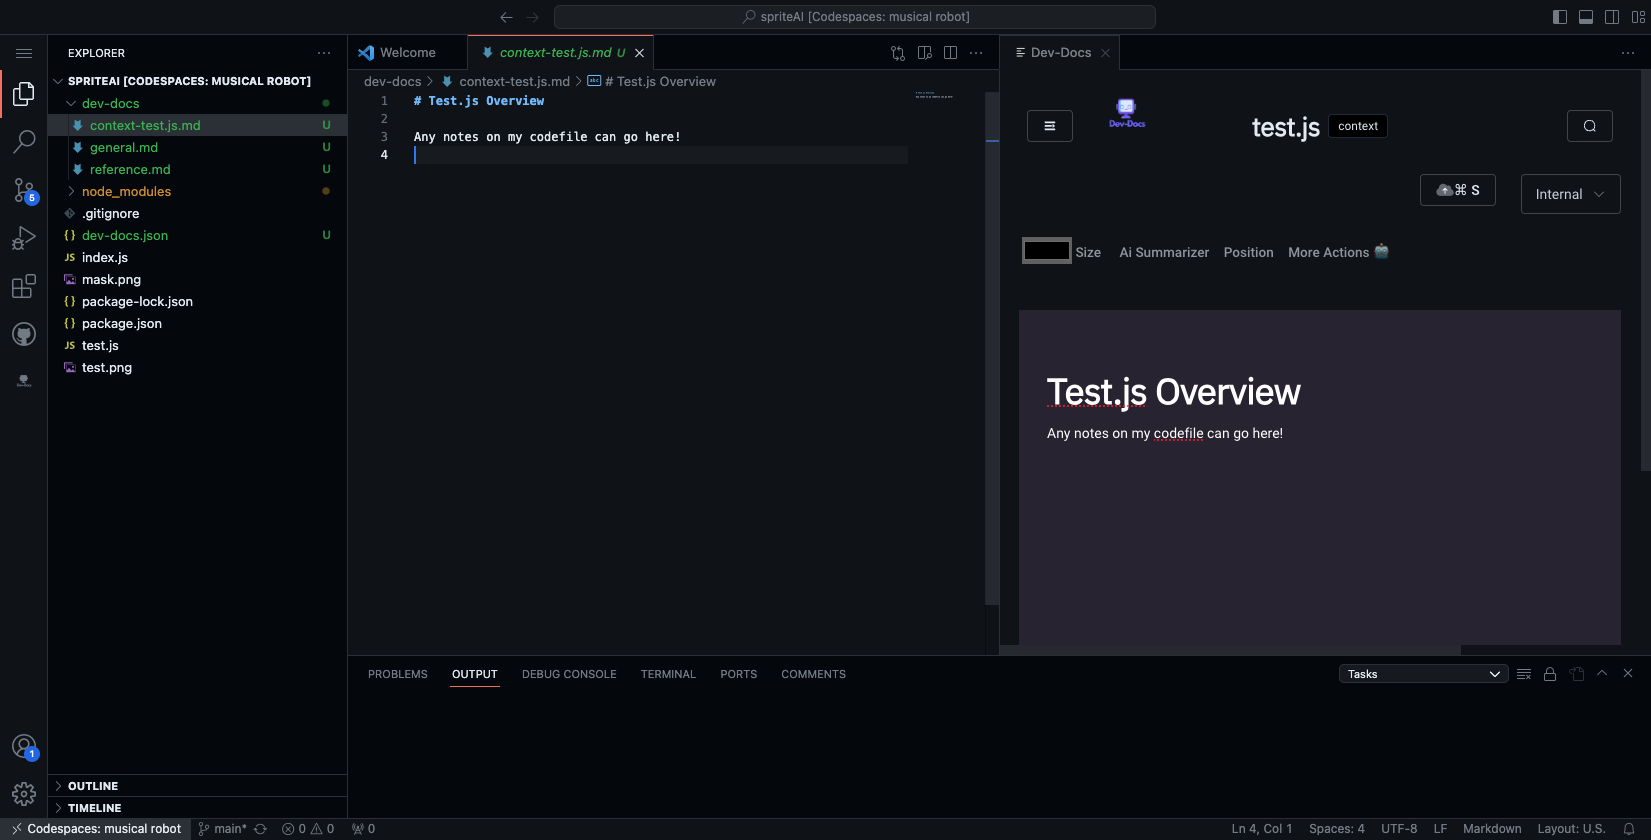
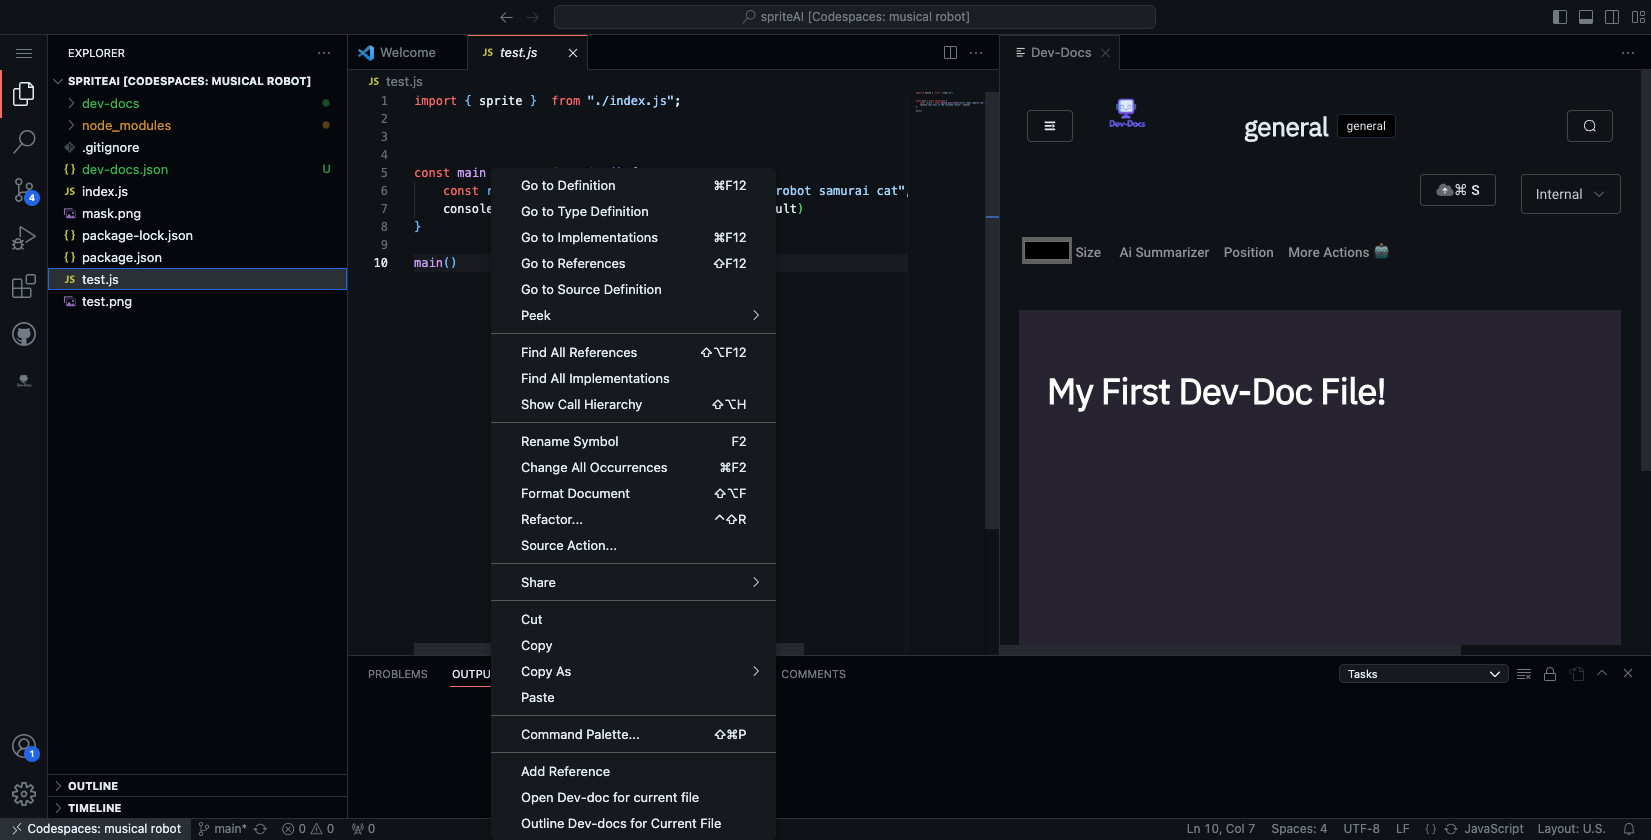
Step 6: Edit Your First Document Tied to Code
You can also create documentation tied to any specific code files. To do this, right click on any codefile and select open Dev-doc for current file.
Step 7: Done
Now any documentation created by Dev-Docs will be saved as markdown in the Dev-Docs folder.