Integrate Dev-Docs with a Custom Docs Repo
Step 1: Navigate to Dev-Docs Website
On the Dev-Docs website (https://www.dev-docs.io/dash), find the SVG icon with the text " " and click on it.
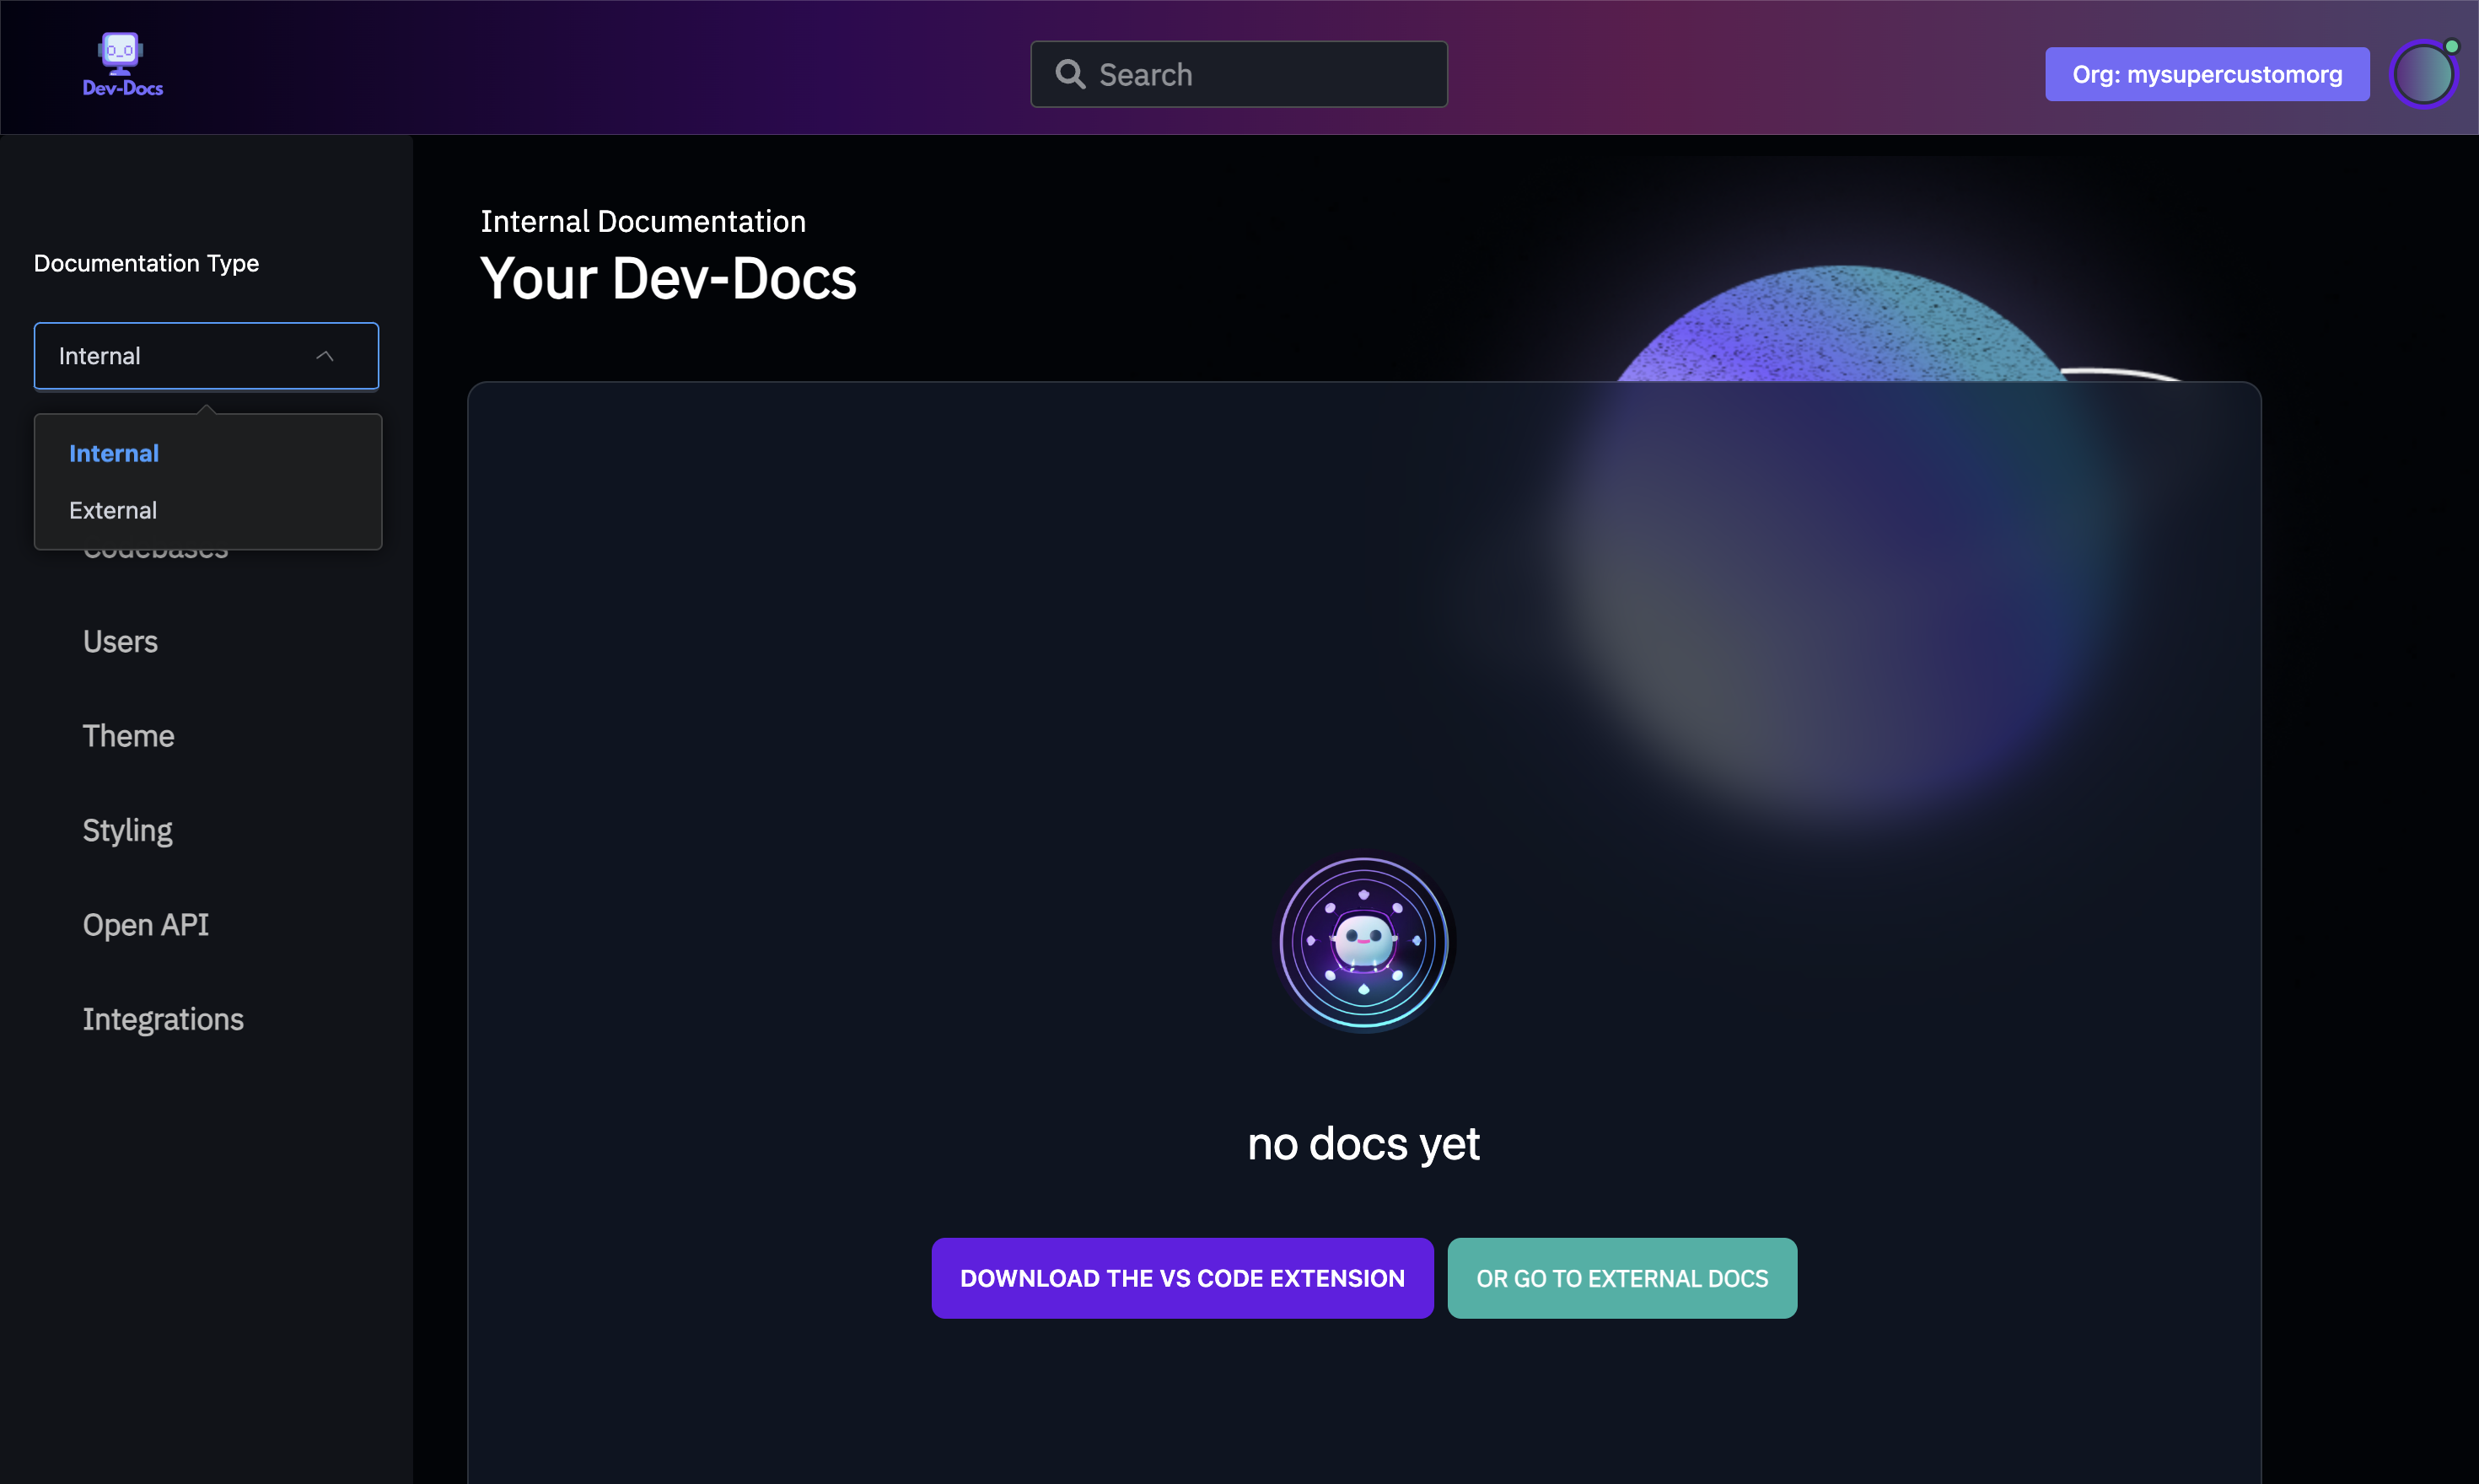
Step 2: Select External Docs Option
Click on the "External" option from the dropdown on the left.
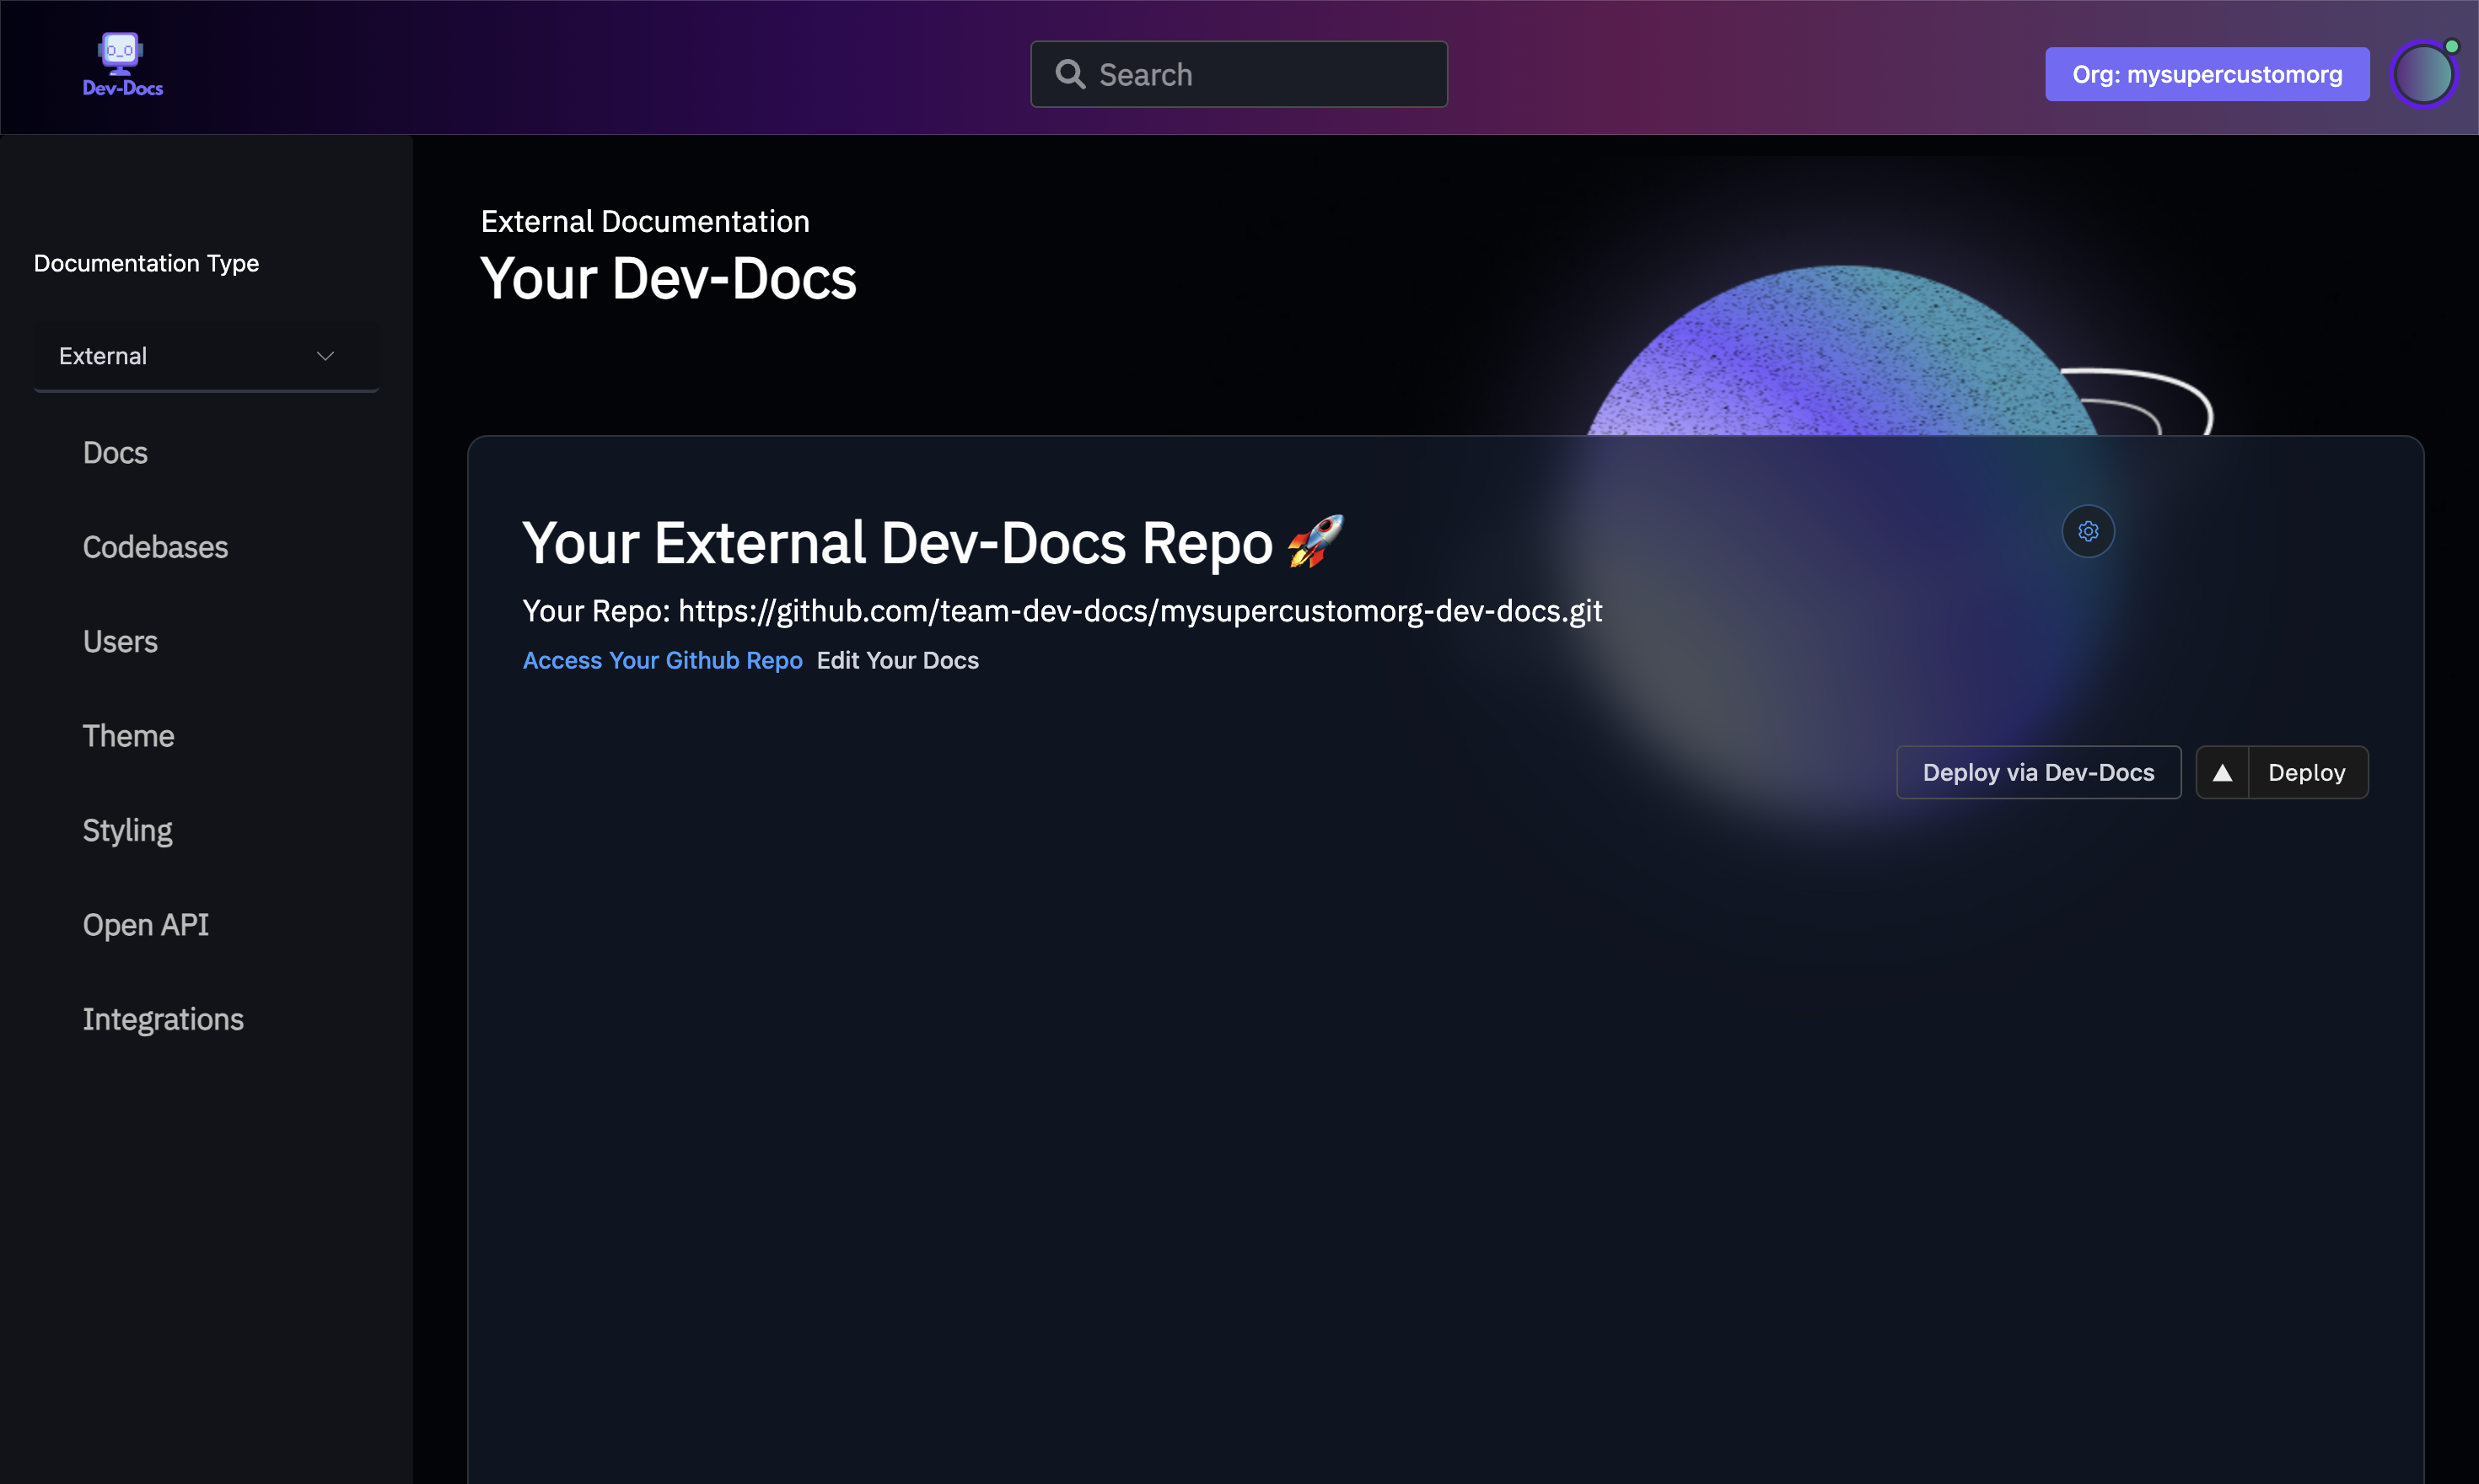
Step 3: Click on the Settins Icon
On the external docs page (https://www.dev-docs.io/external_docs), find the settings icon and click on it.
Step 4: Enter Repository Details
Enter the details of your custom docs repository in the input field.
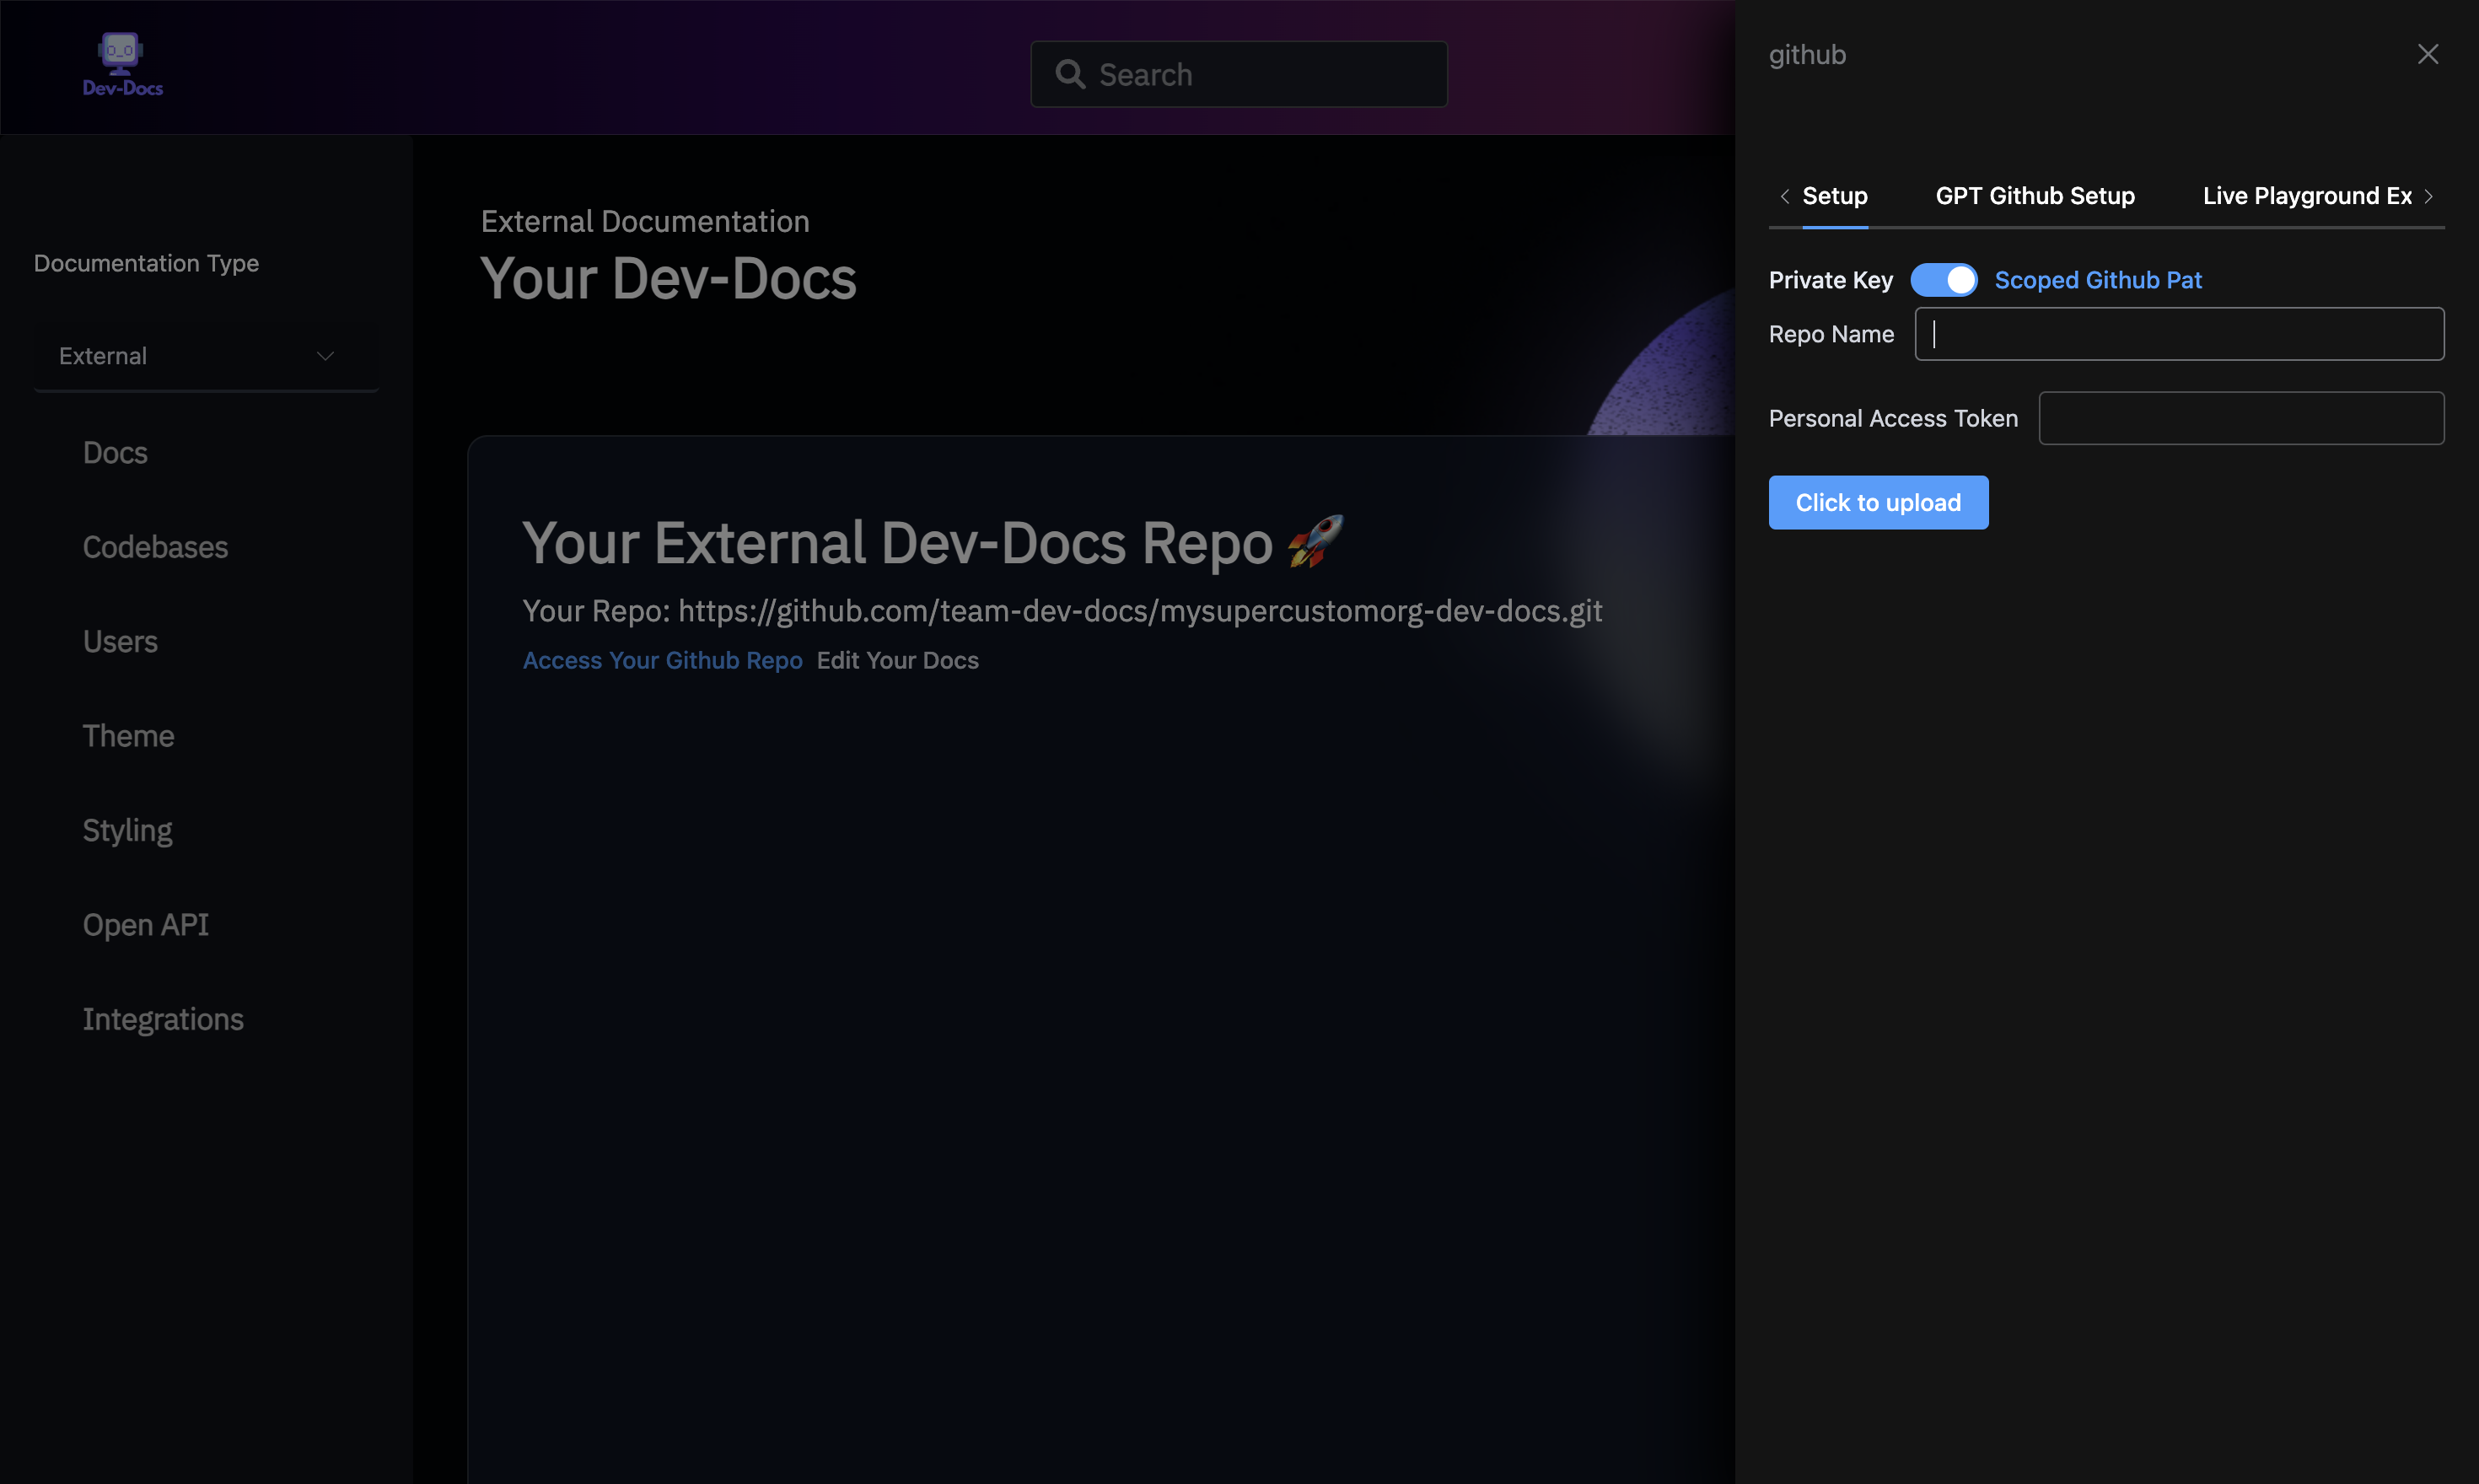
Step 5: Open Github Integration Modal
Find and click on the DIV containing the text "Setup," "GPT Github Setup," "Live Playground Examples," and other related options.

Step 6: Navigate to Your Docs Repo
Go to Github to get both a Personal Access Token as well as the name of your Repo
Step 7: Click on Profile Picture
On the GitHub repository page (https://github.com/avb-is-me/nextra/tree/main), find the profile picture (IMG) and click on it.
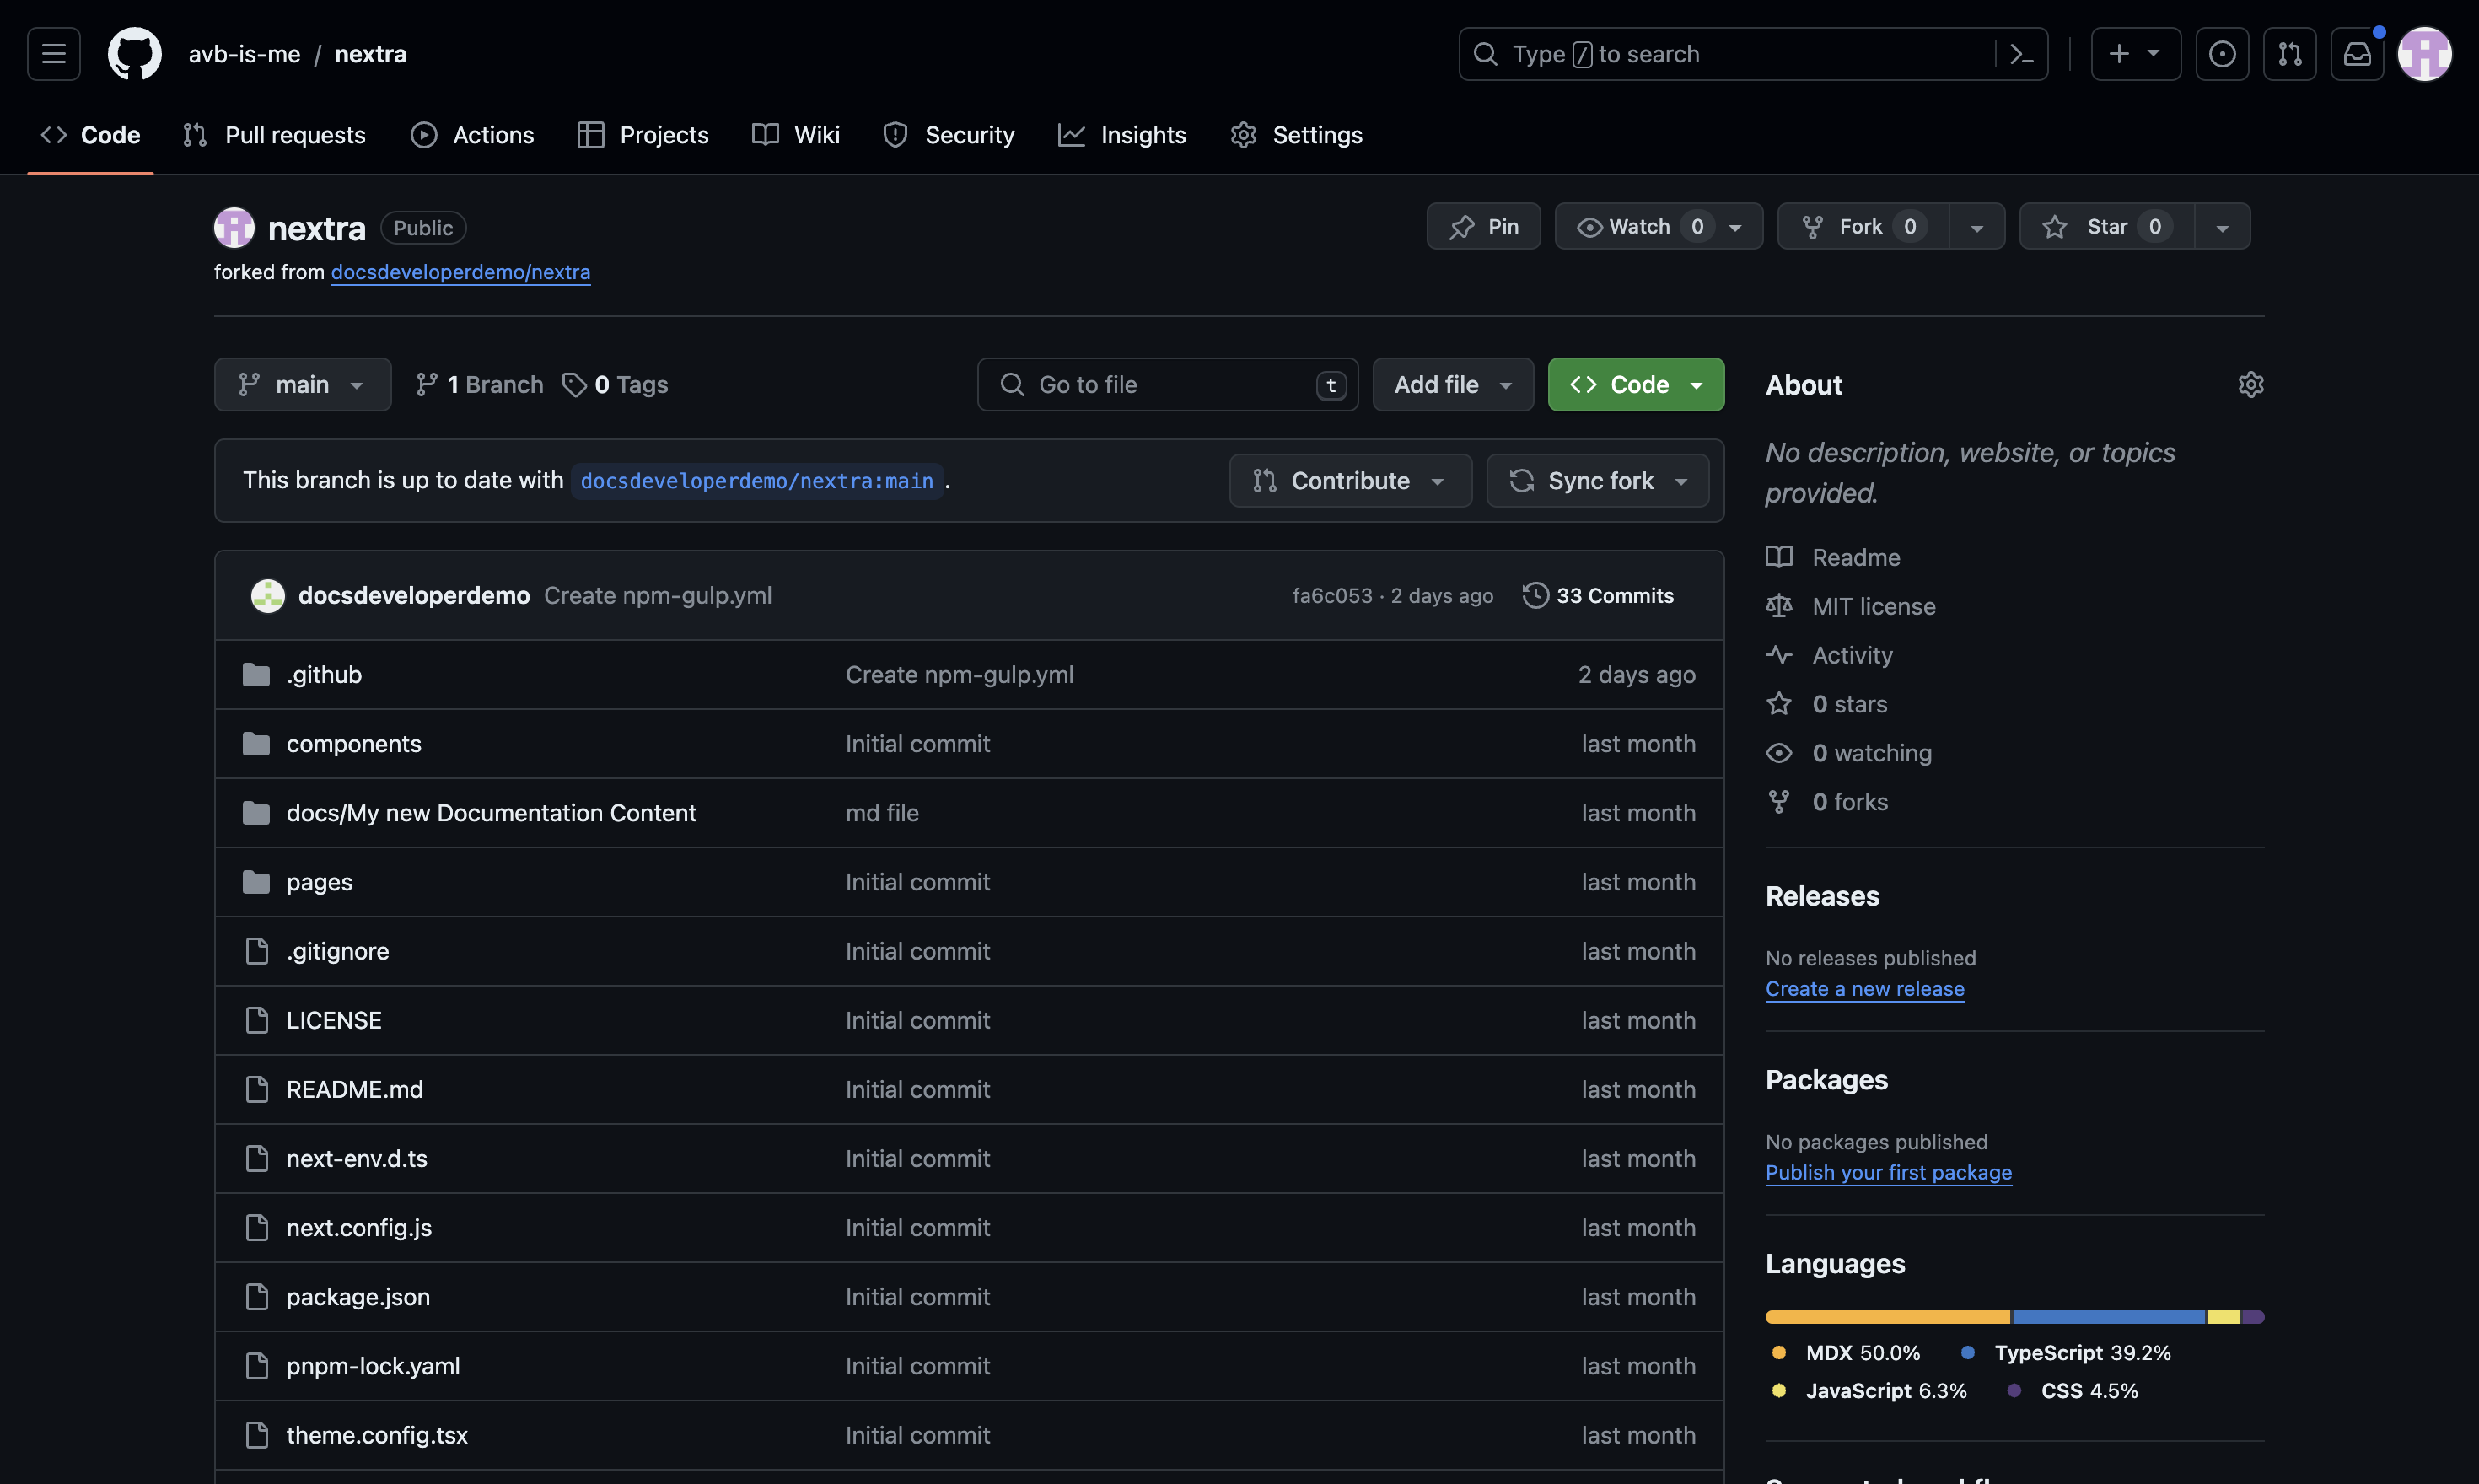
Step 8: Navigate to Settings
Click on the "Settings" option.
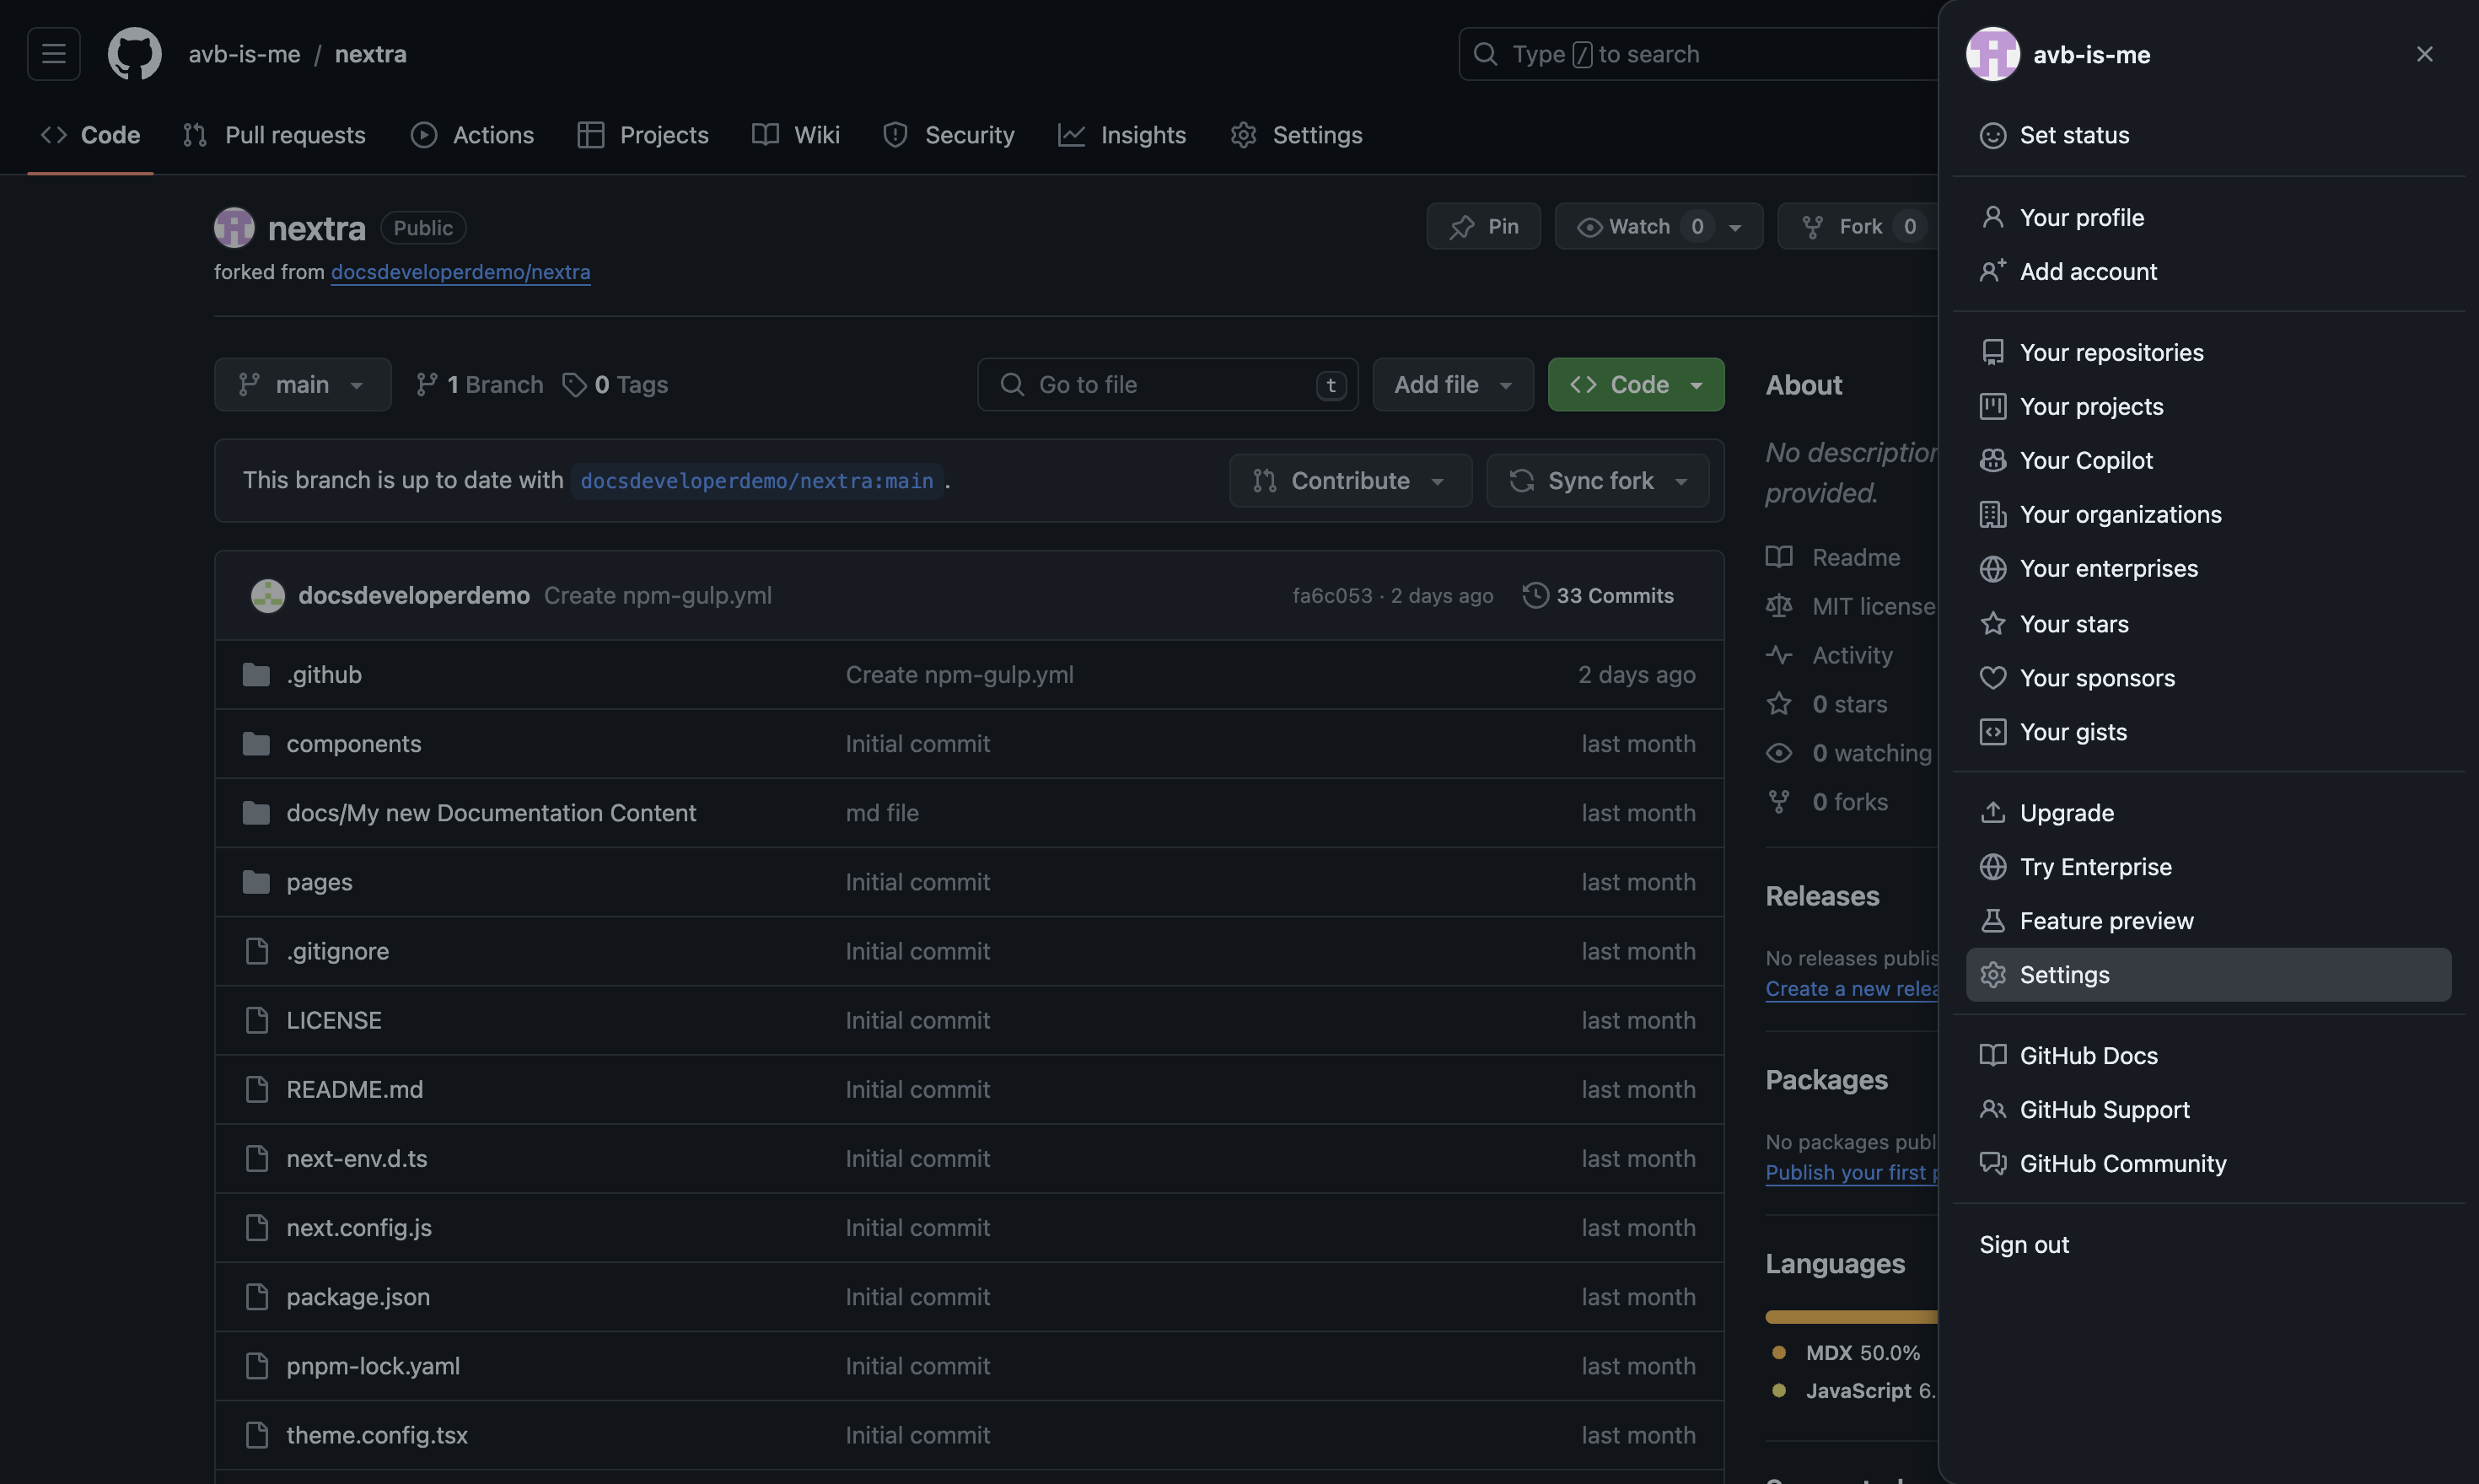
Step 9: Open Developer Settings
Go to your Github profile settings (https://github.com/settings/profile), find and click on the "Developer settings" option.
Step 10: Open Personal Access Tokens
On the developer settings page (https://github.com/settings/apps), find and click on the "Personal access tokens" button.

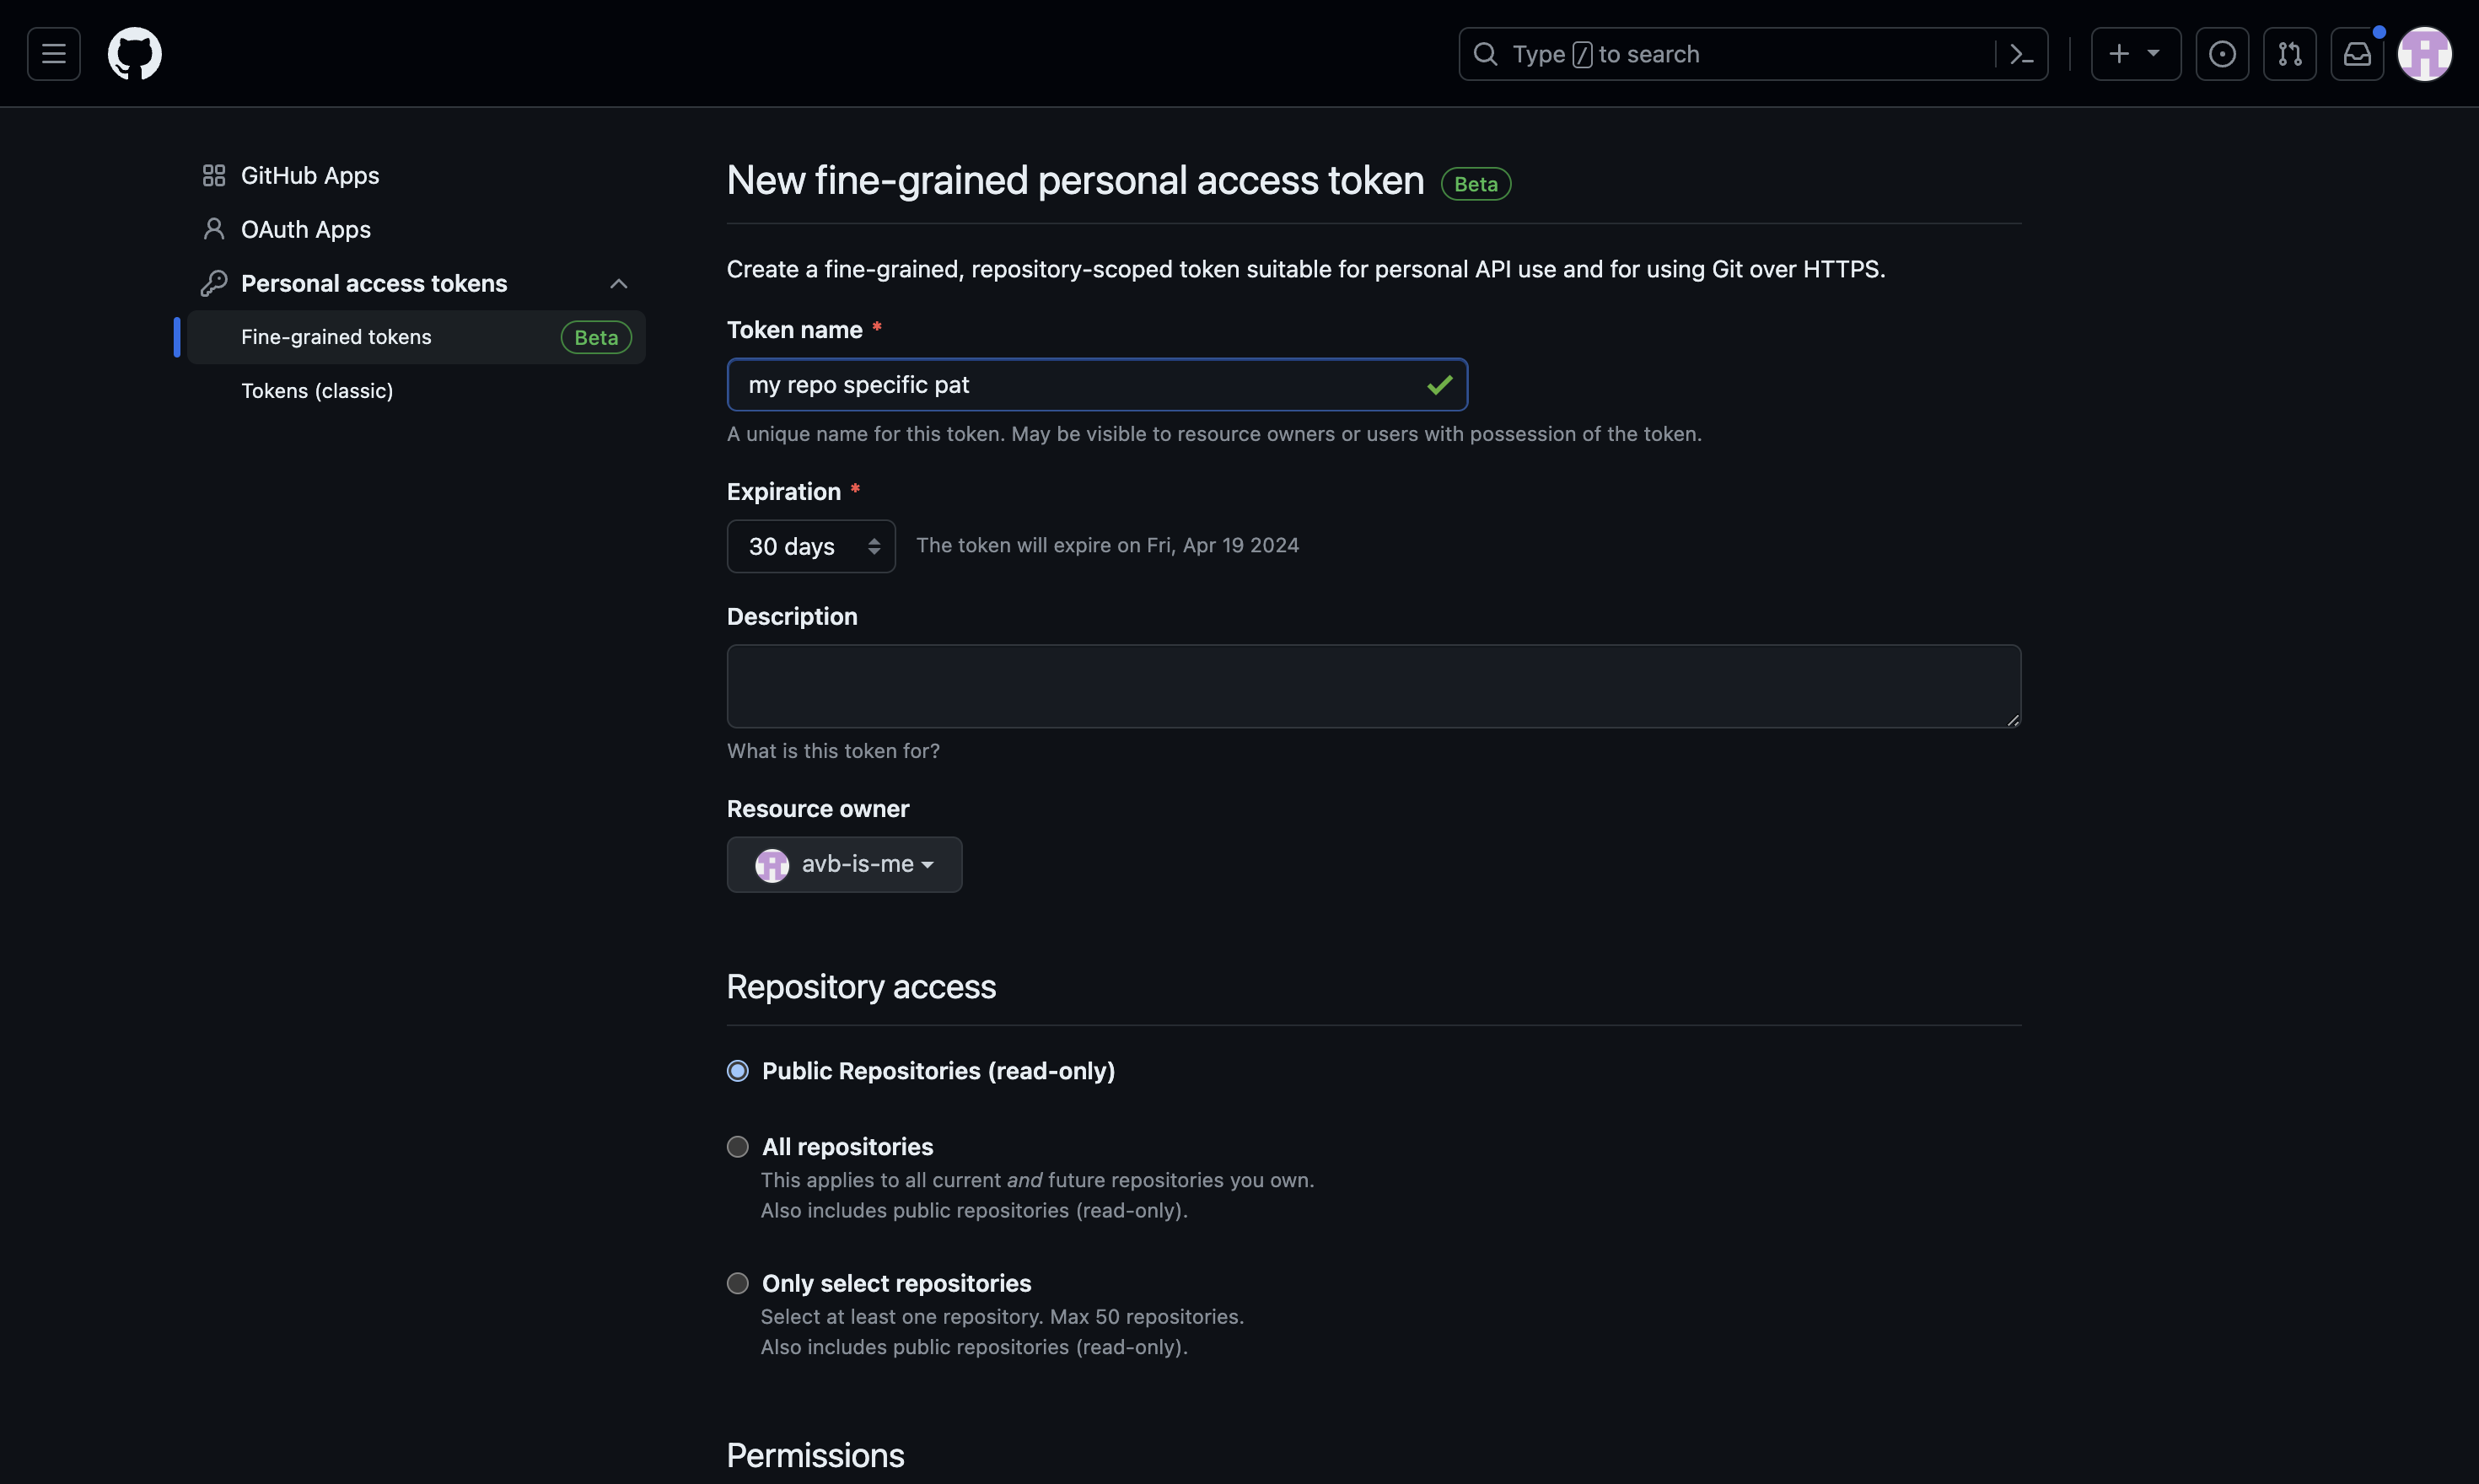
Step 10: Select Fine-grained Tokens
On the same page, click on the "Fine-grained tokens" option.

Step 11: Enter Token Name
On the new personal access token page (https://github.com/settings/personal-access-tokens/new), enter a name for your token in the input field.

Step 12: Review Token Settings
Review the token settings, including the expiration date, description, resource owner, repository access, and permissions.
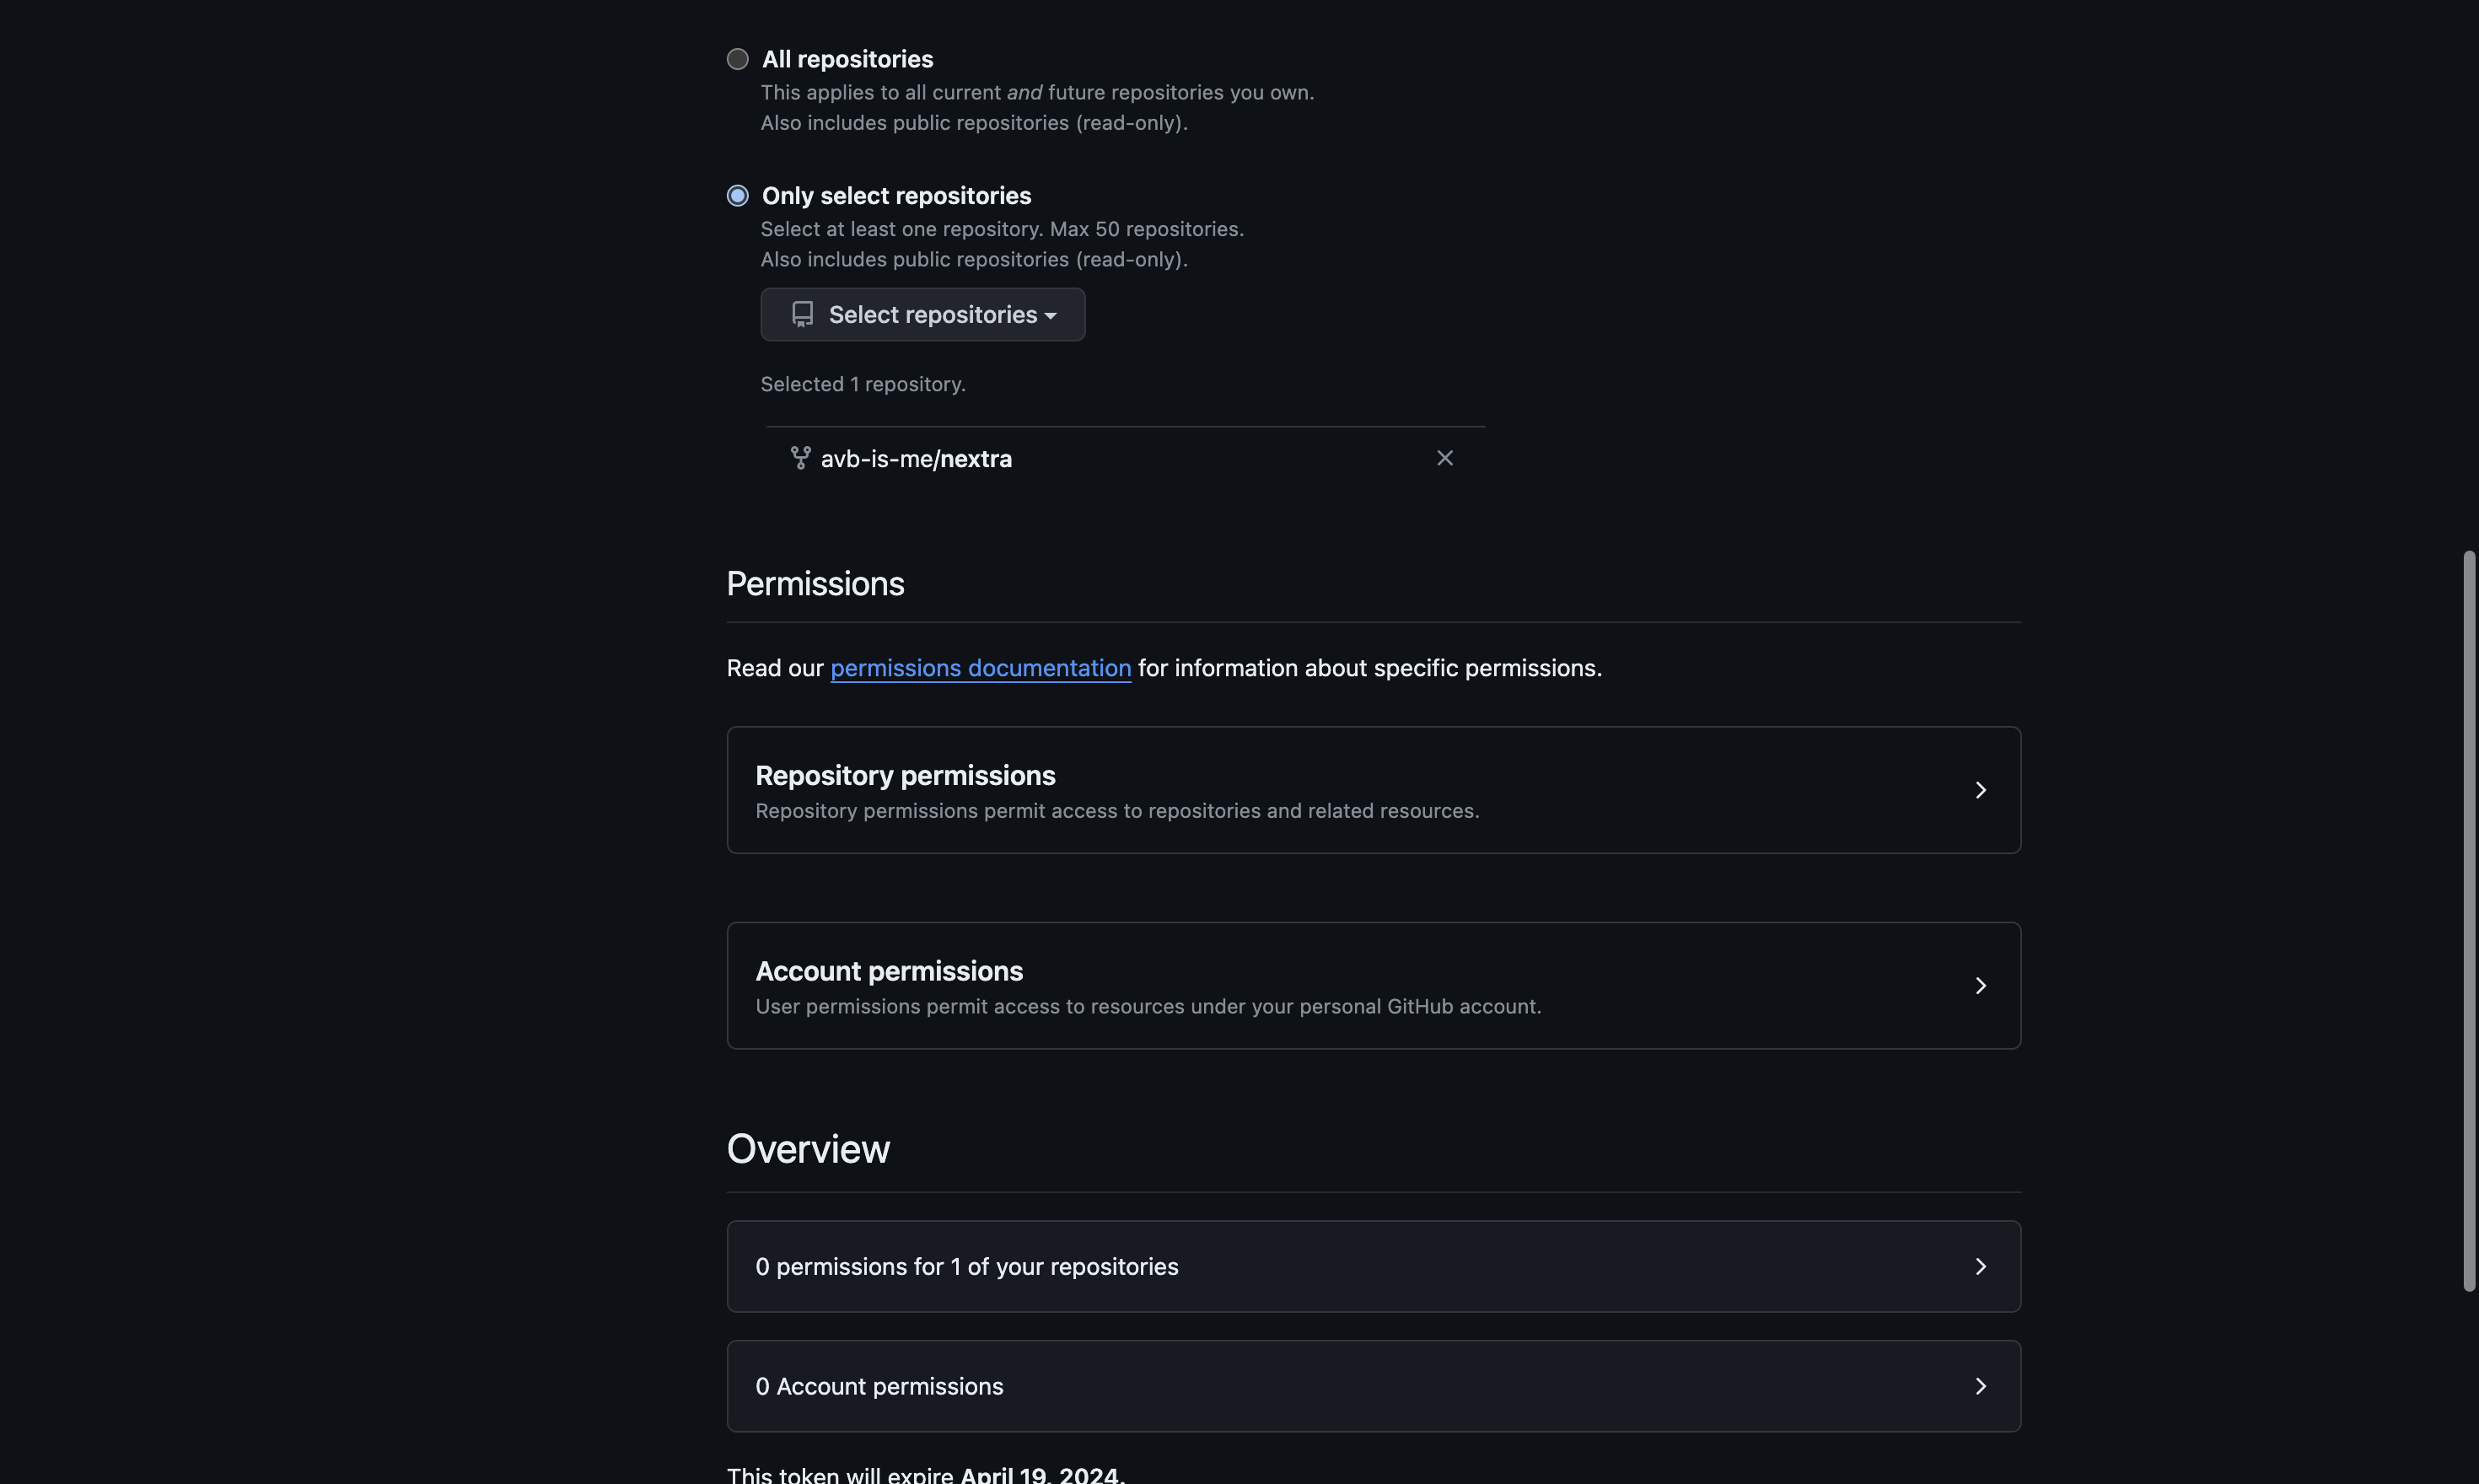
Step 13: Select Repository Access Option
Choose the "Only select repositories" option for repository access, and Select your Repo.
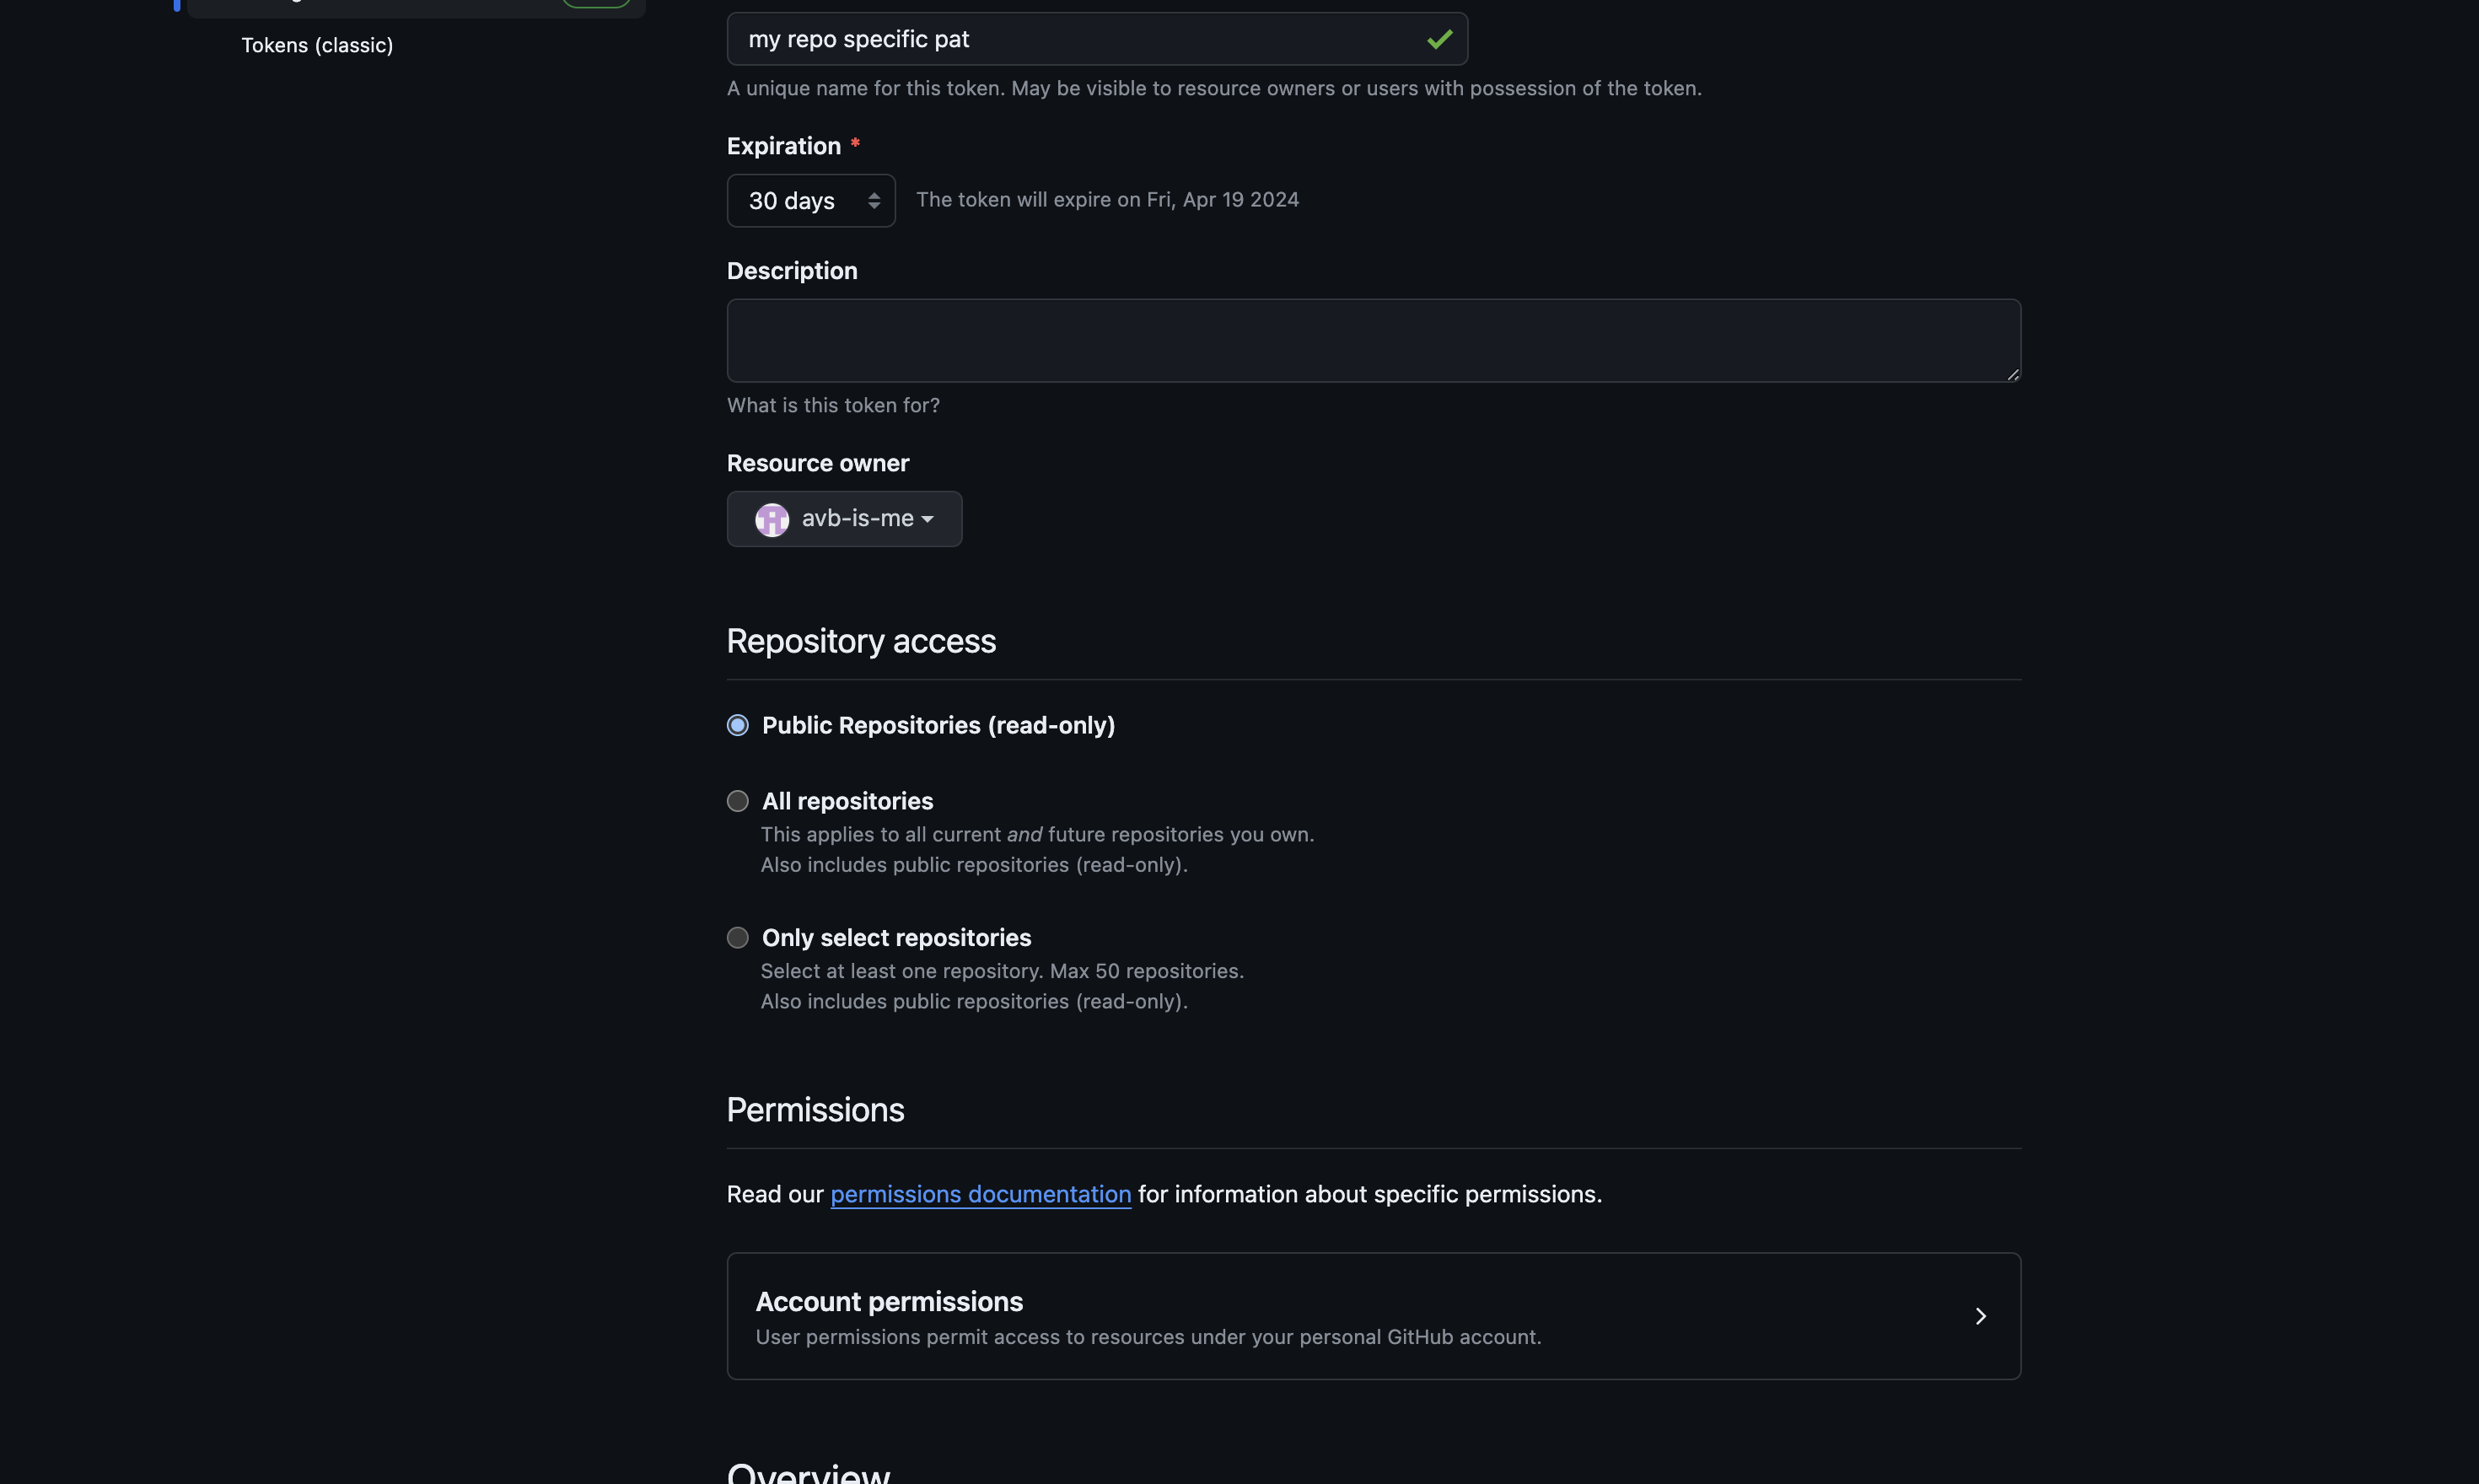
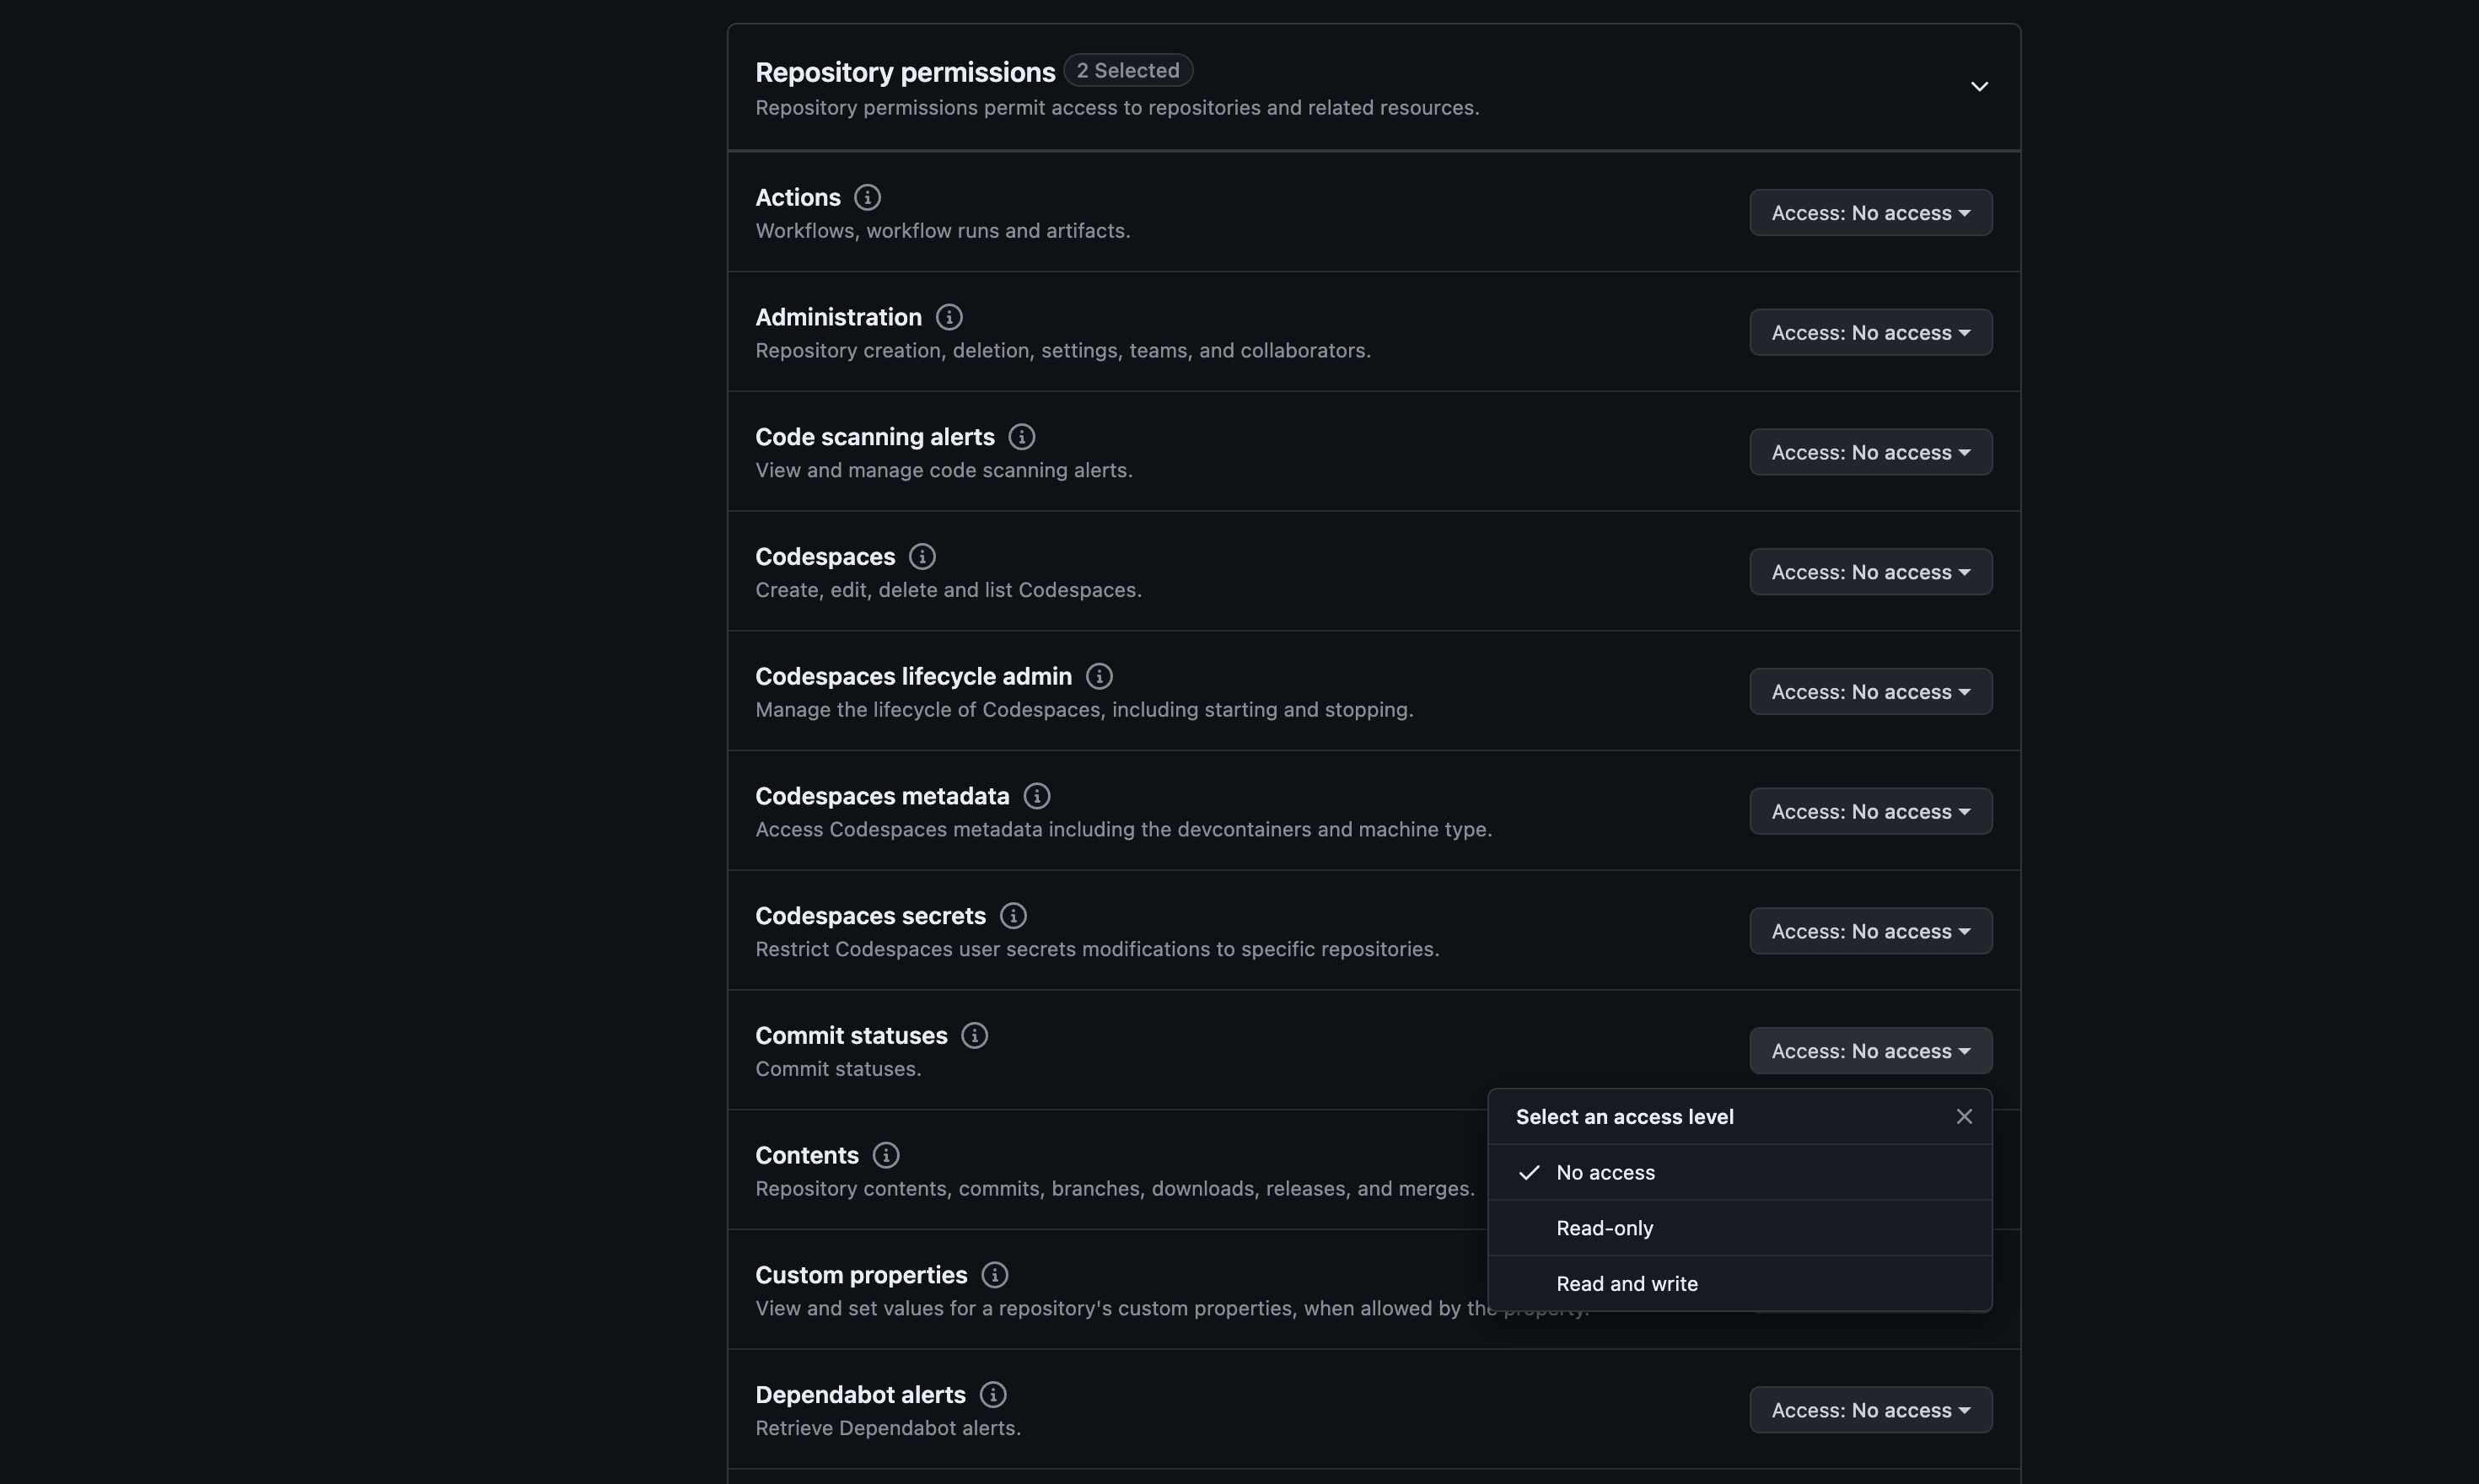
Step 14: Open Repository Permissions Section
Find and click on the DIV containing the text "Repository permissions" to expand the repository permissions section.
Step 15: Select Read and Write Access for proper Permissions(Pull Requests, Issues, Commits, and Contents)
For the desired permission (e.g., "Commit statuses"), select the "Read and write" access level by clicking on the corresponding label. Recommended Permissions are read & write for "Pull Requests, Issues, Commits, and Contents".
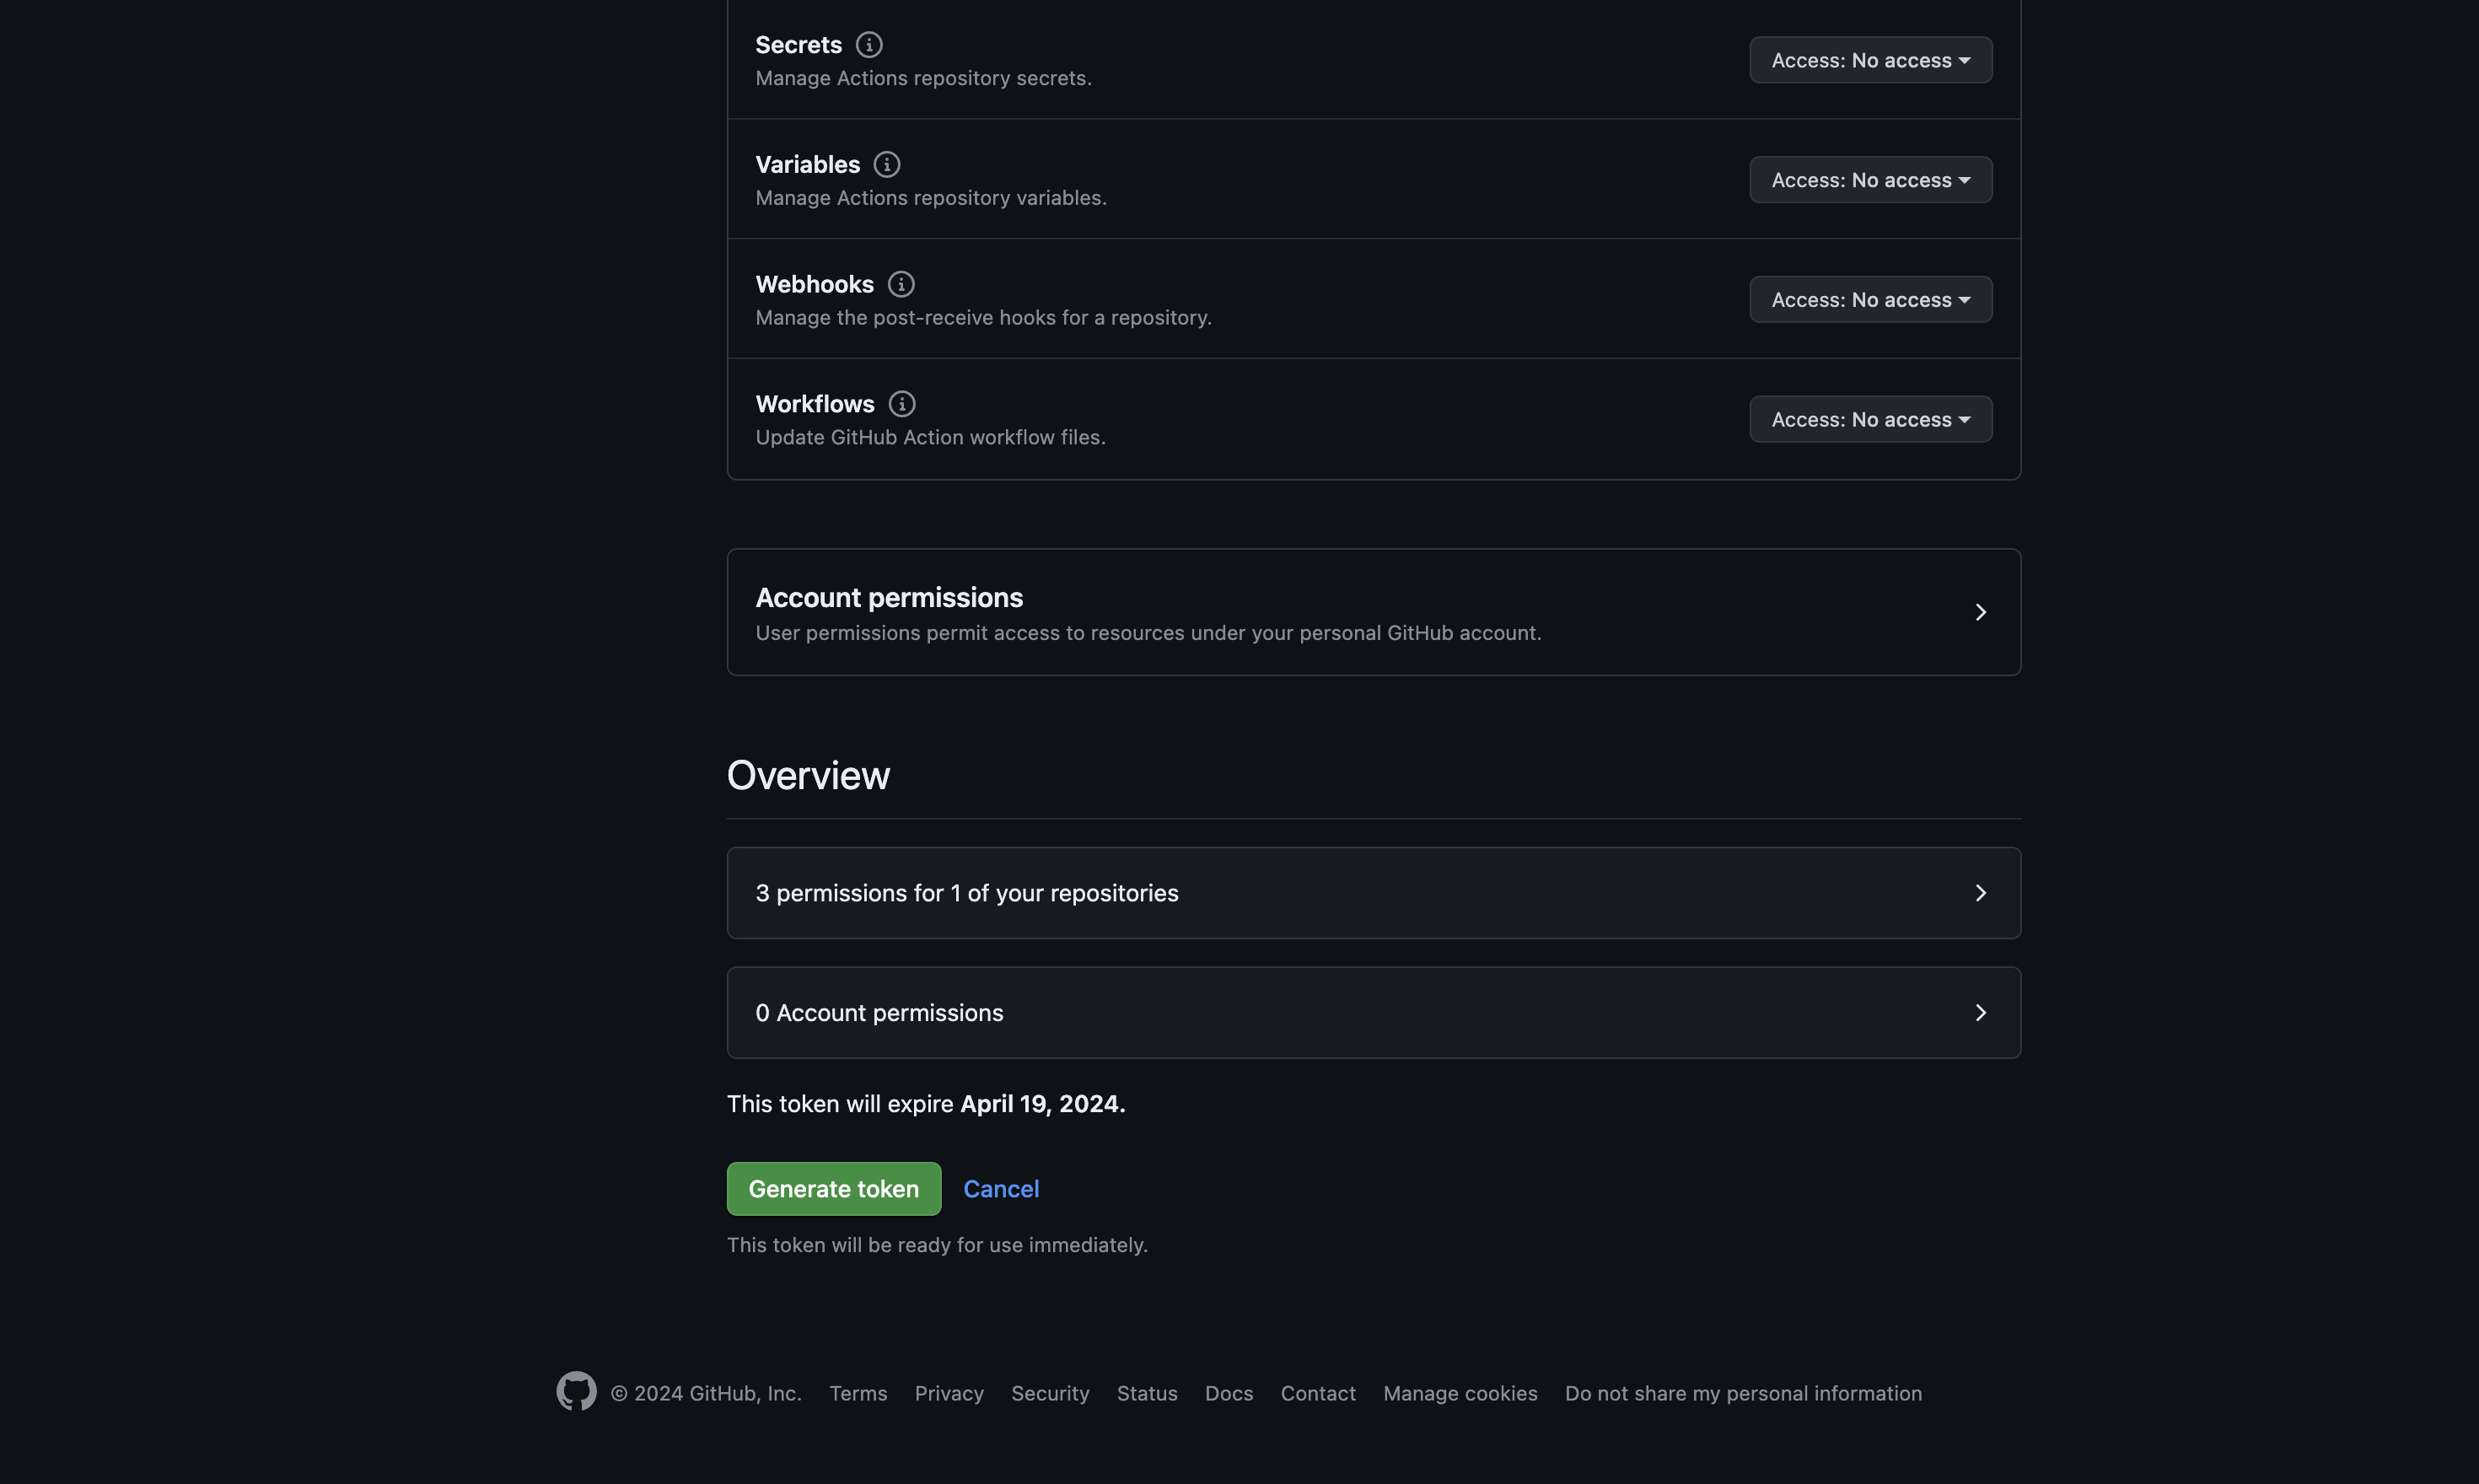
Step 16: Generate Token
After configuring the desired permissions, click on the "Generate token" button to generate the personal access token.
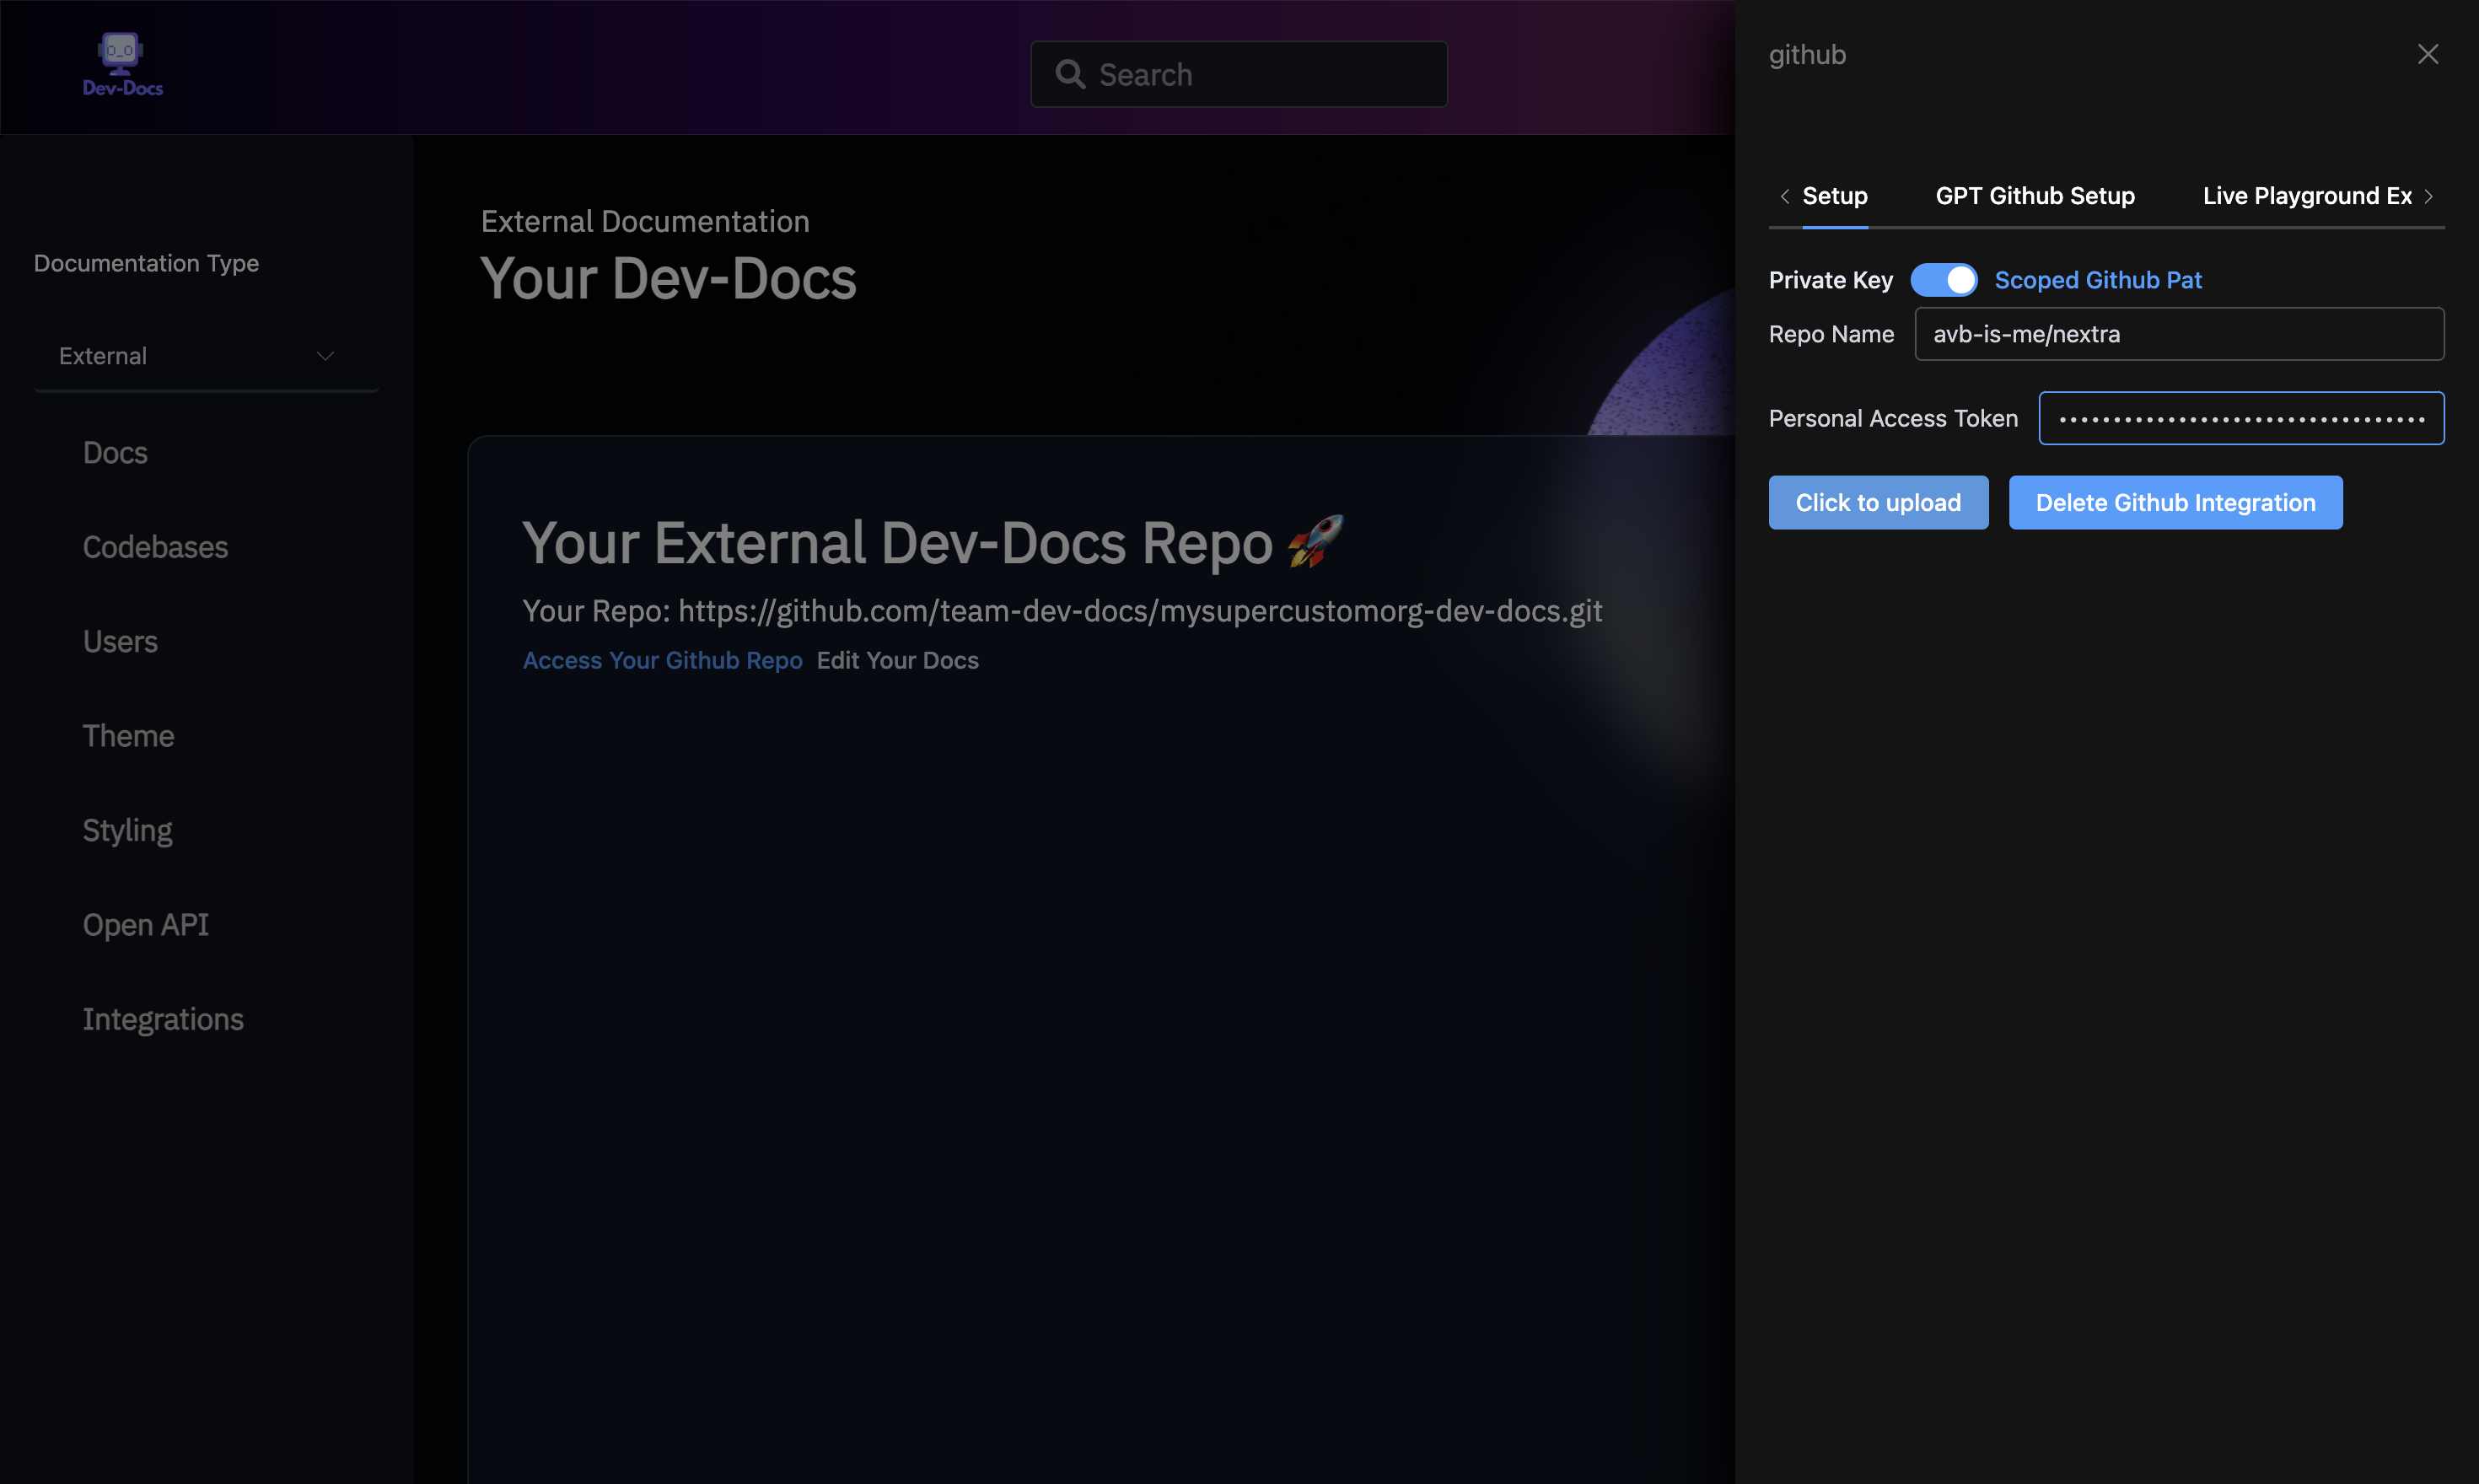
Step 17: Enter Personal Access Token
On the Dev-Docs external docs page (https://www.dev-docs.io/external_docs), enter the generated personal access token in the input field.
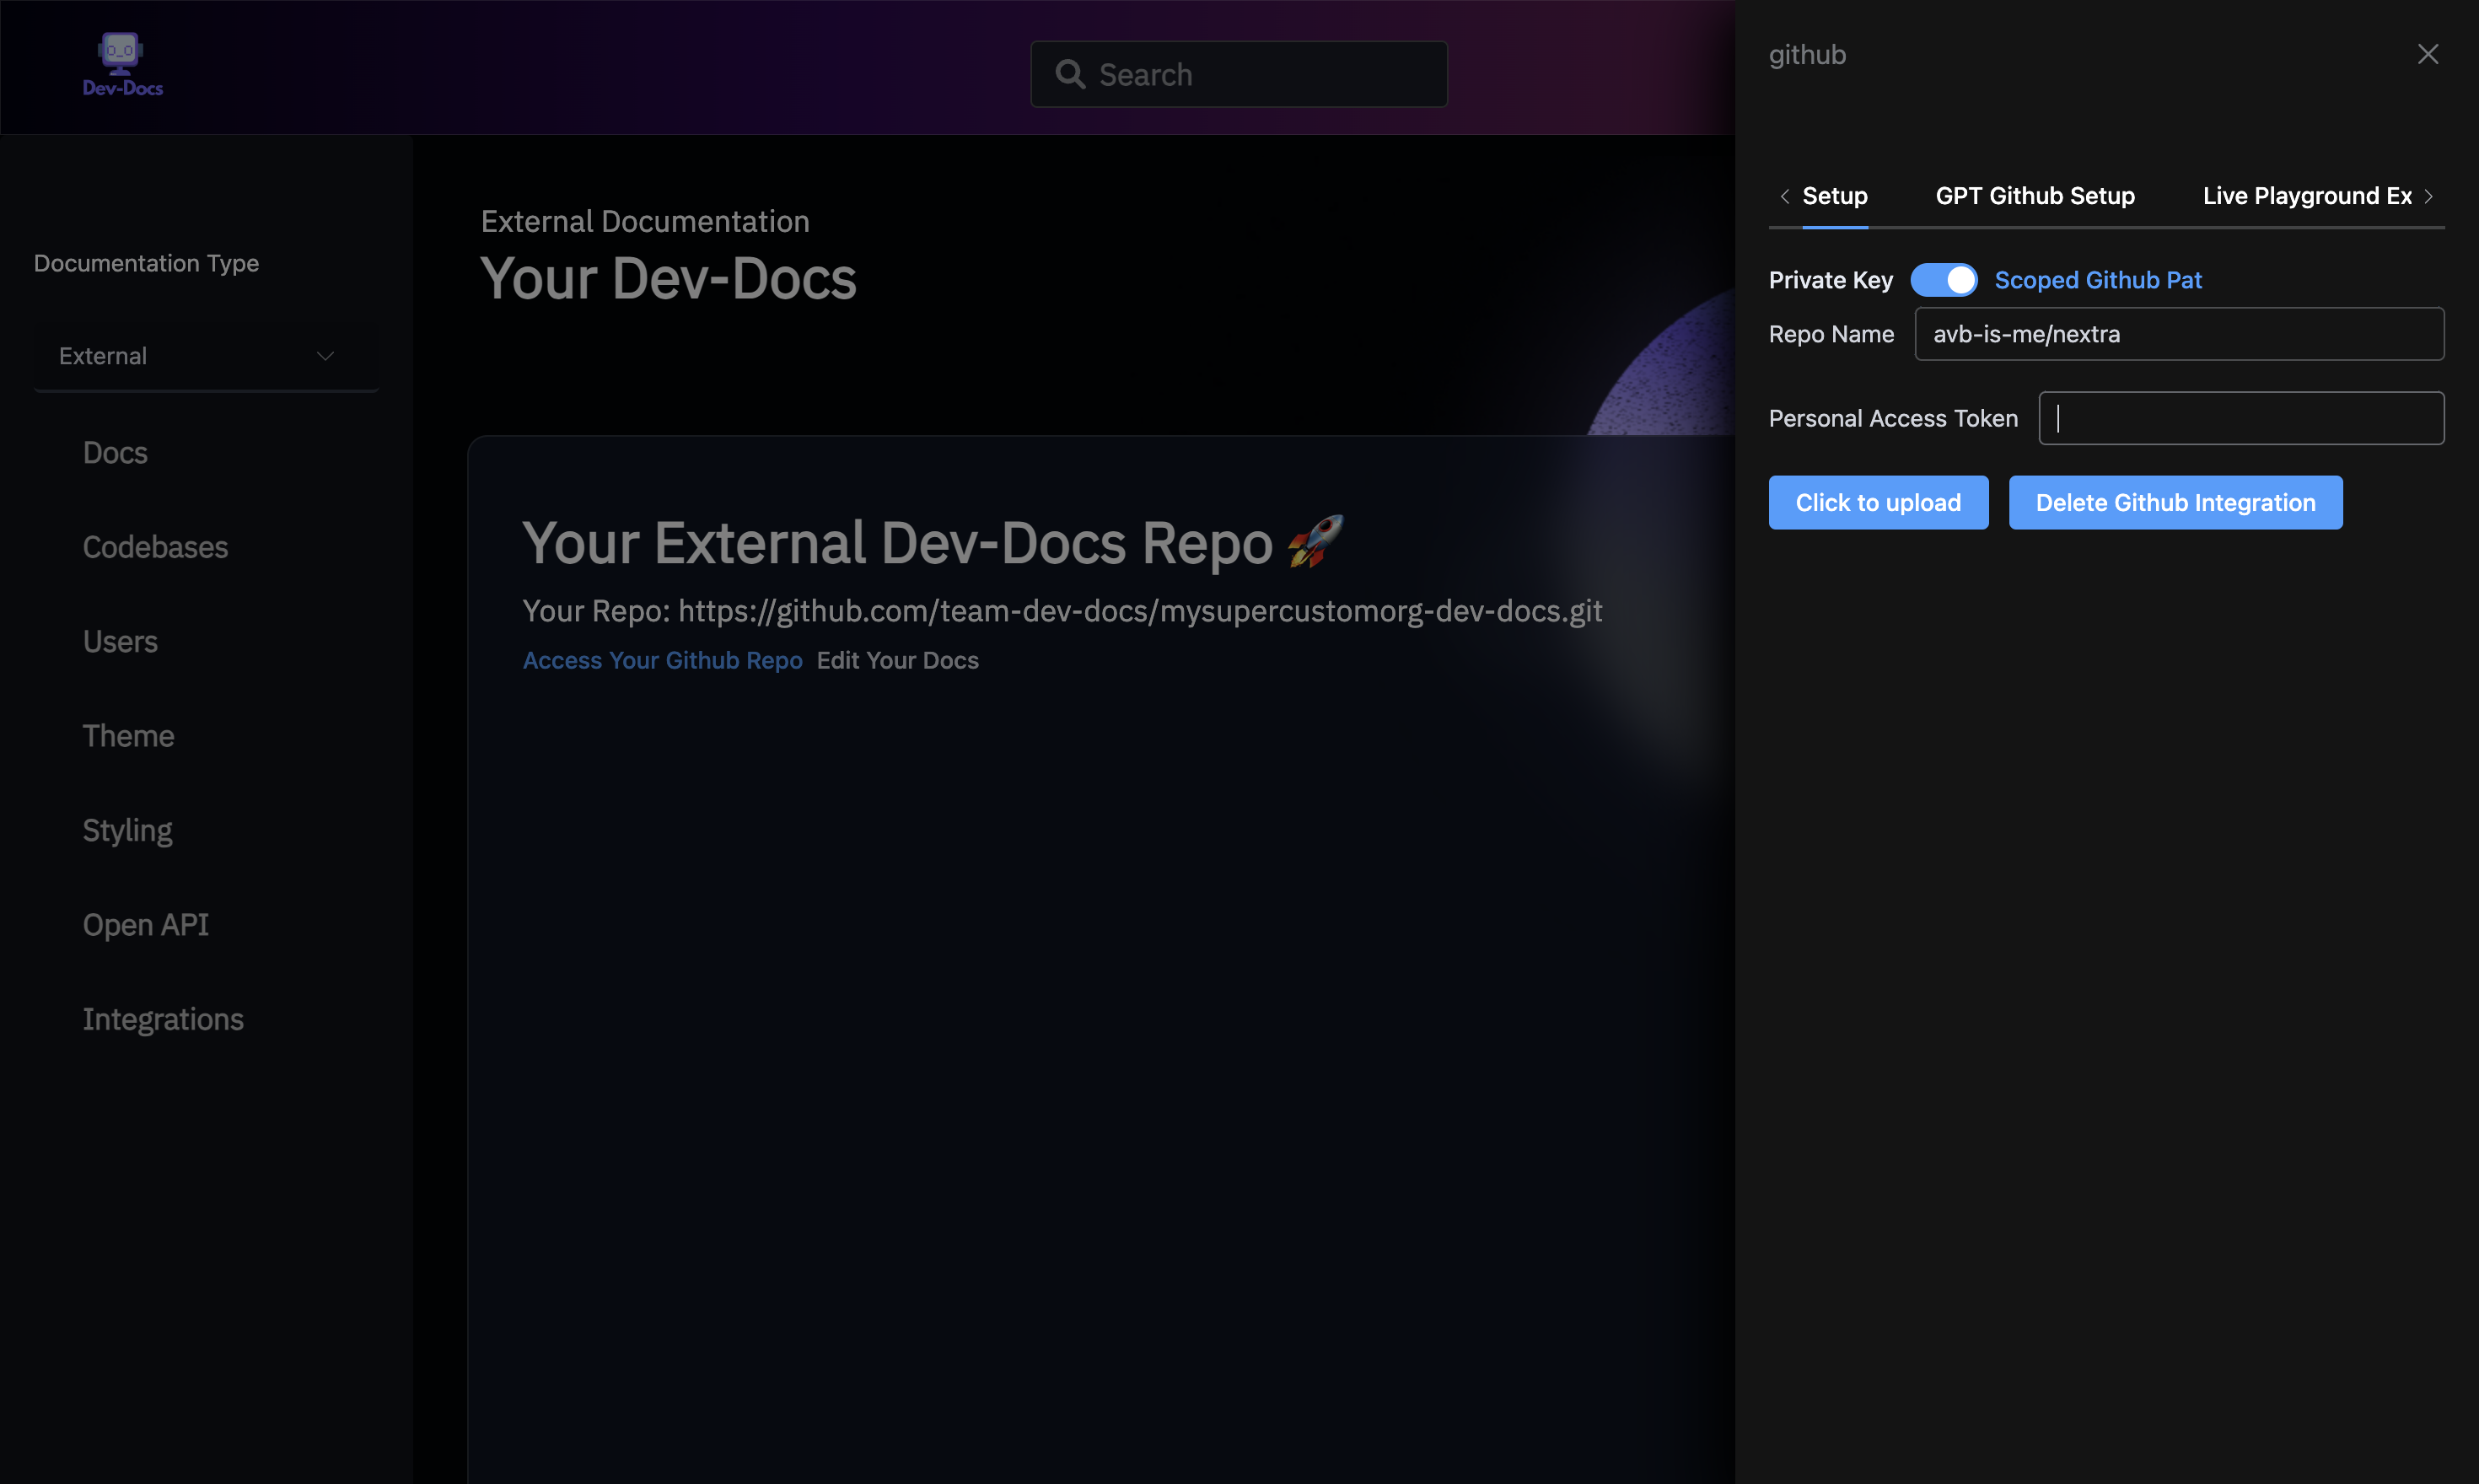
Step 18: Upload Integration
Click on the "Click to upload" button to upload the GitHub integration with the provided personal access token.